


A missing part is easier to identify when you check the kit against its instructions before assembly. If you’re working out what to do if you lose a kit part, first confirm which piece is missing, then keep the box, sprues and other packaging together while you gather details and photos for customer service.
It’s frustrating to discover a gap when you’re ready to build, especially if the part has no code. A careful check can help distinguish a missing piece from one that’s still attached to a sprue or packed out of sight, and gives customer service clearer information to work with.
This guide explains how to check a kit’s contents, keep its packaging together and describe an unlabelled part. You’ll also find out what details to include when reporting a missing piece.
Key Takeaways
- Keep the box, sprues and packaging organised until assembly is complete so you can recheck where a part may be.
- Compare the kit’s contents with its packing list or manual to identify exactly what appears to be missing.
- Photograph the parts you received and include the images, purchase details and a clear description in your report.
- If the missing piece has no code, describe its position and appearance to help customer service identify it.
Keeping sprues and packaging until assembly is complete
Keep the box, sprues, bags and paperwork together until assembly is complete. A small part may still be attached to a sprue or hidden inside folded packaging, so check these before deciding it is missing. Store loose pieces in a labelled container. Keep painted parts separate by colour or component while they dry to avoid mix-ups during a longer build.
Keep the instructions, manual or packing list with the kit. If a sheet seems to be missing, check the box and packaging again before reporting the issue. The parts diagram helps identify a component’s position, while the written steps show when it should be fitted. Avoid discarding sprues early: their layout can help you identify a part even after it has been removed.
Compare the contents with the parts diagram or packing list to identify a missing part and its number. If it has no code, describe its position in the diagram, shape, colour and nearby components. For example, say that a small fitting belongs beside a particular assembly step, rather than calling it simply “the tiny piece”.
If a part is lost or damaged during assembly, stop before trimming or cementing adjoining components. Check the work area, sprues and packaging, then note what happened. A broken piece may be repairable with super glue or hobby putty, so keep the fragments together. The arrival time for a replacement in the UK depends on correct identification, stock or production, dispatch and delivery.
Second-hand parts may be available through UK auction sites, kit swap meets or collector shows. Before using a recovered component, compare its shape and attachment points with the diagram. A compatible part can substitute for the original if its dimensions and fit suit the assembly. Test it in place without forcing or cementing it. A missing decorative piece may not stop work, but pause if later parts depend on its position or fit.
Checking a model kit’s contents on arrival
Inspect the kit before assembly, while every component is easy to identify. Open the box over a clear, well-lit surface and remove each bag or insert carefully. Keep pieces grouped as packaged instead of mixing small fittings with larger parts. This makes it easier to compare the contents with the manual and spot loose items.
Use the packing list or parts diagram as your reference. Match each sprue, bag and separately packed component to its illustration or description. Check both sides of each sprue, as small pieces can be hard to spot among larger mouldings. If the instructions show similar parts, compare their shapes and positions before deciding one is absent.
- Lay the packaging and parts out together so the full contents are visible.
- Compare each group with the packing list or manual, and mark items as you locate them.
- Set uncertain pieces beside the relevant diagram rather than counting them as missing.
- Photograph all received contents, including the packaging and parts laid out.
Take clear photographs before moving the pieces into storage. Start with a complete view of the contents, then take close-ups of the relevant sprue, bag or empty space. Include the box and labels where practical. The images record what arrived and help you describe the issue clearly.
If a component appears to be missing, note its position in the diagram and the assembly step that uses it. Describe its shape, colour and nearby parts, even if the manual gives no individual code. Keep the order details with the photographs, and pause any work that depends on the uncertain piece. Checking the kit on arrival makes it easier to report a discrepancy accurately.
Contacting customer service when a part has no code
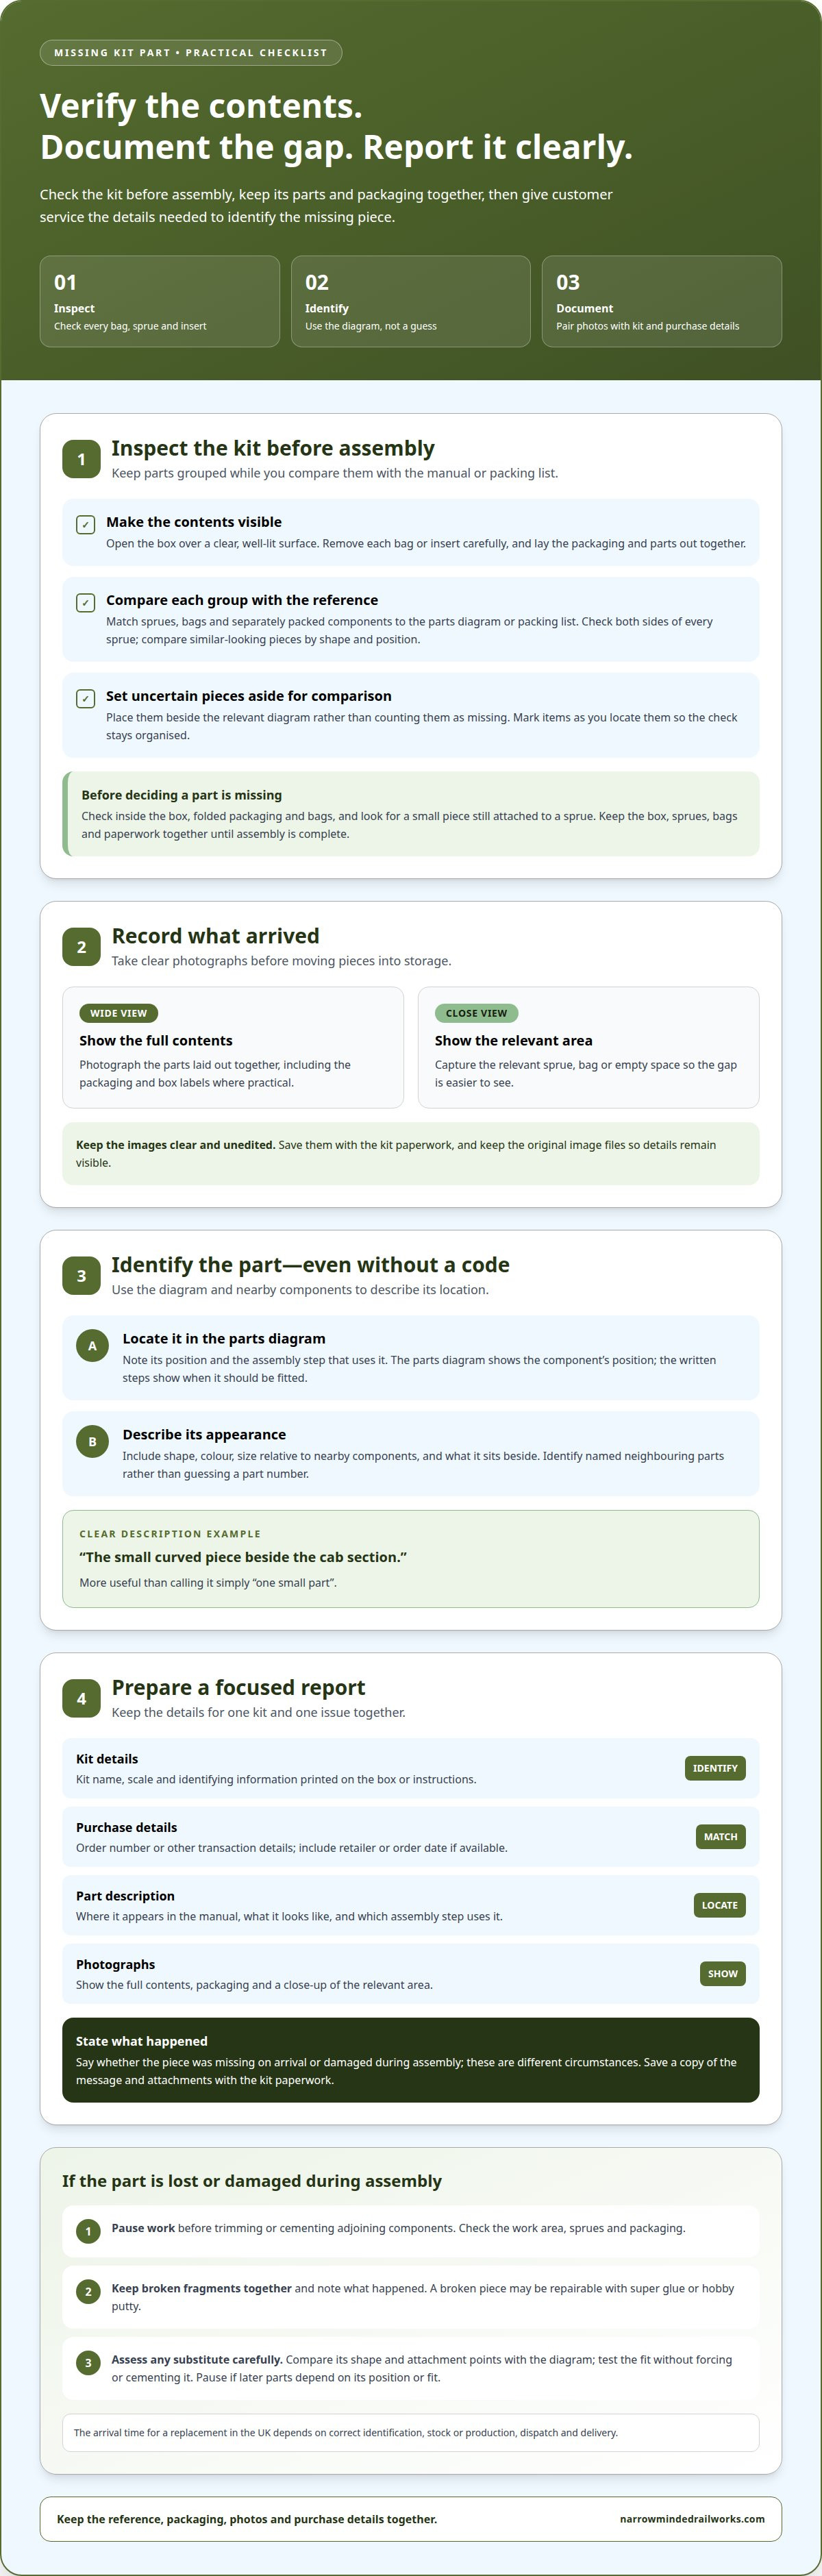
You can describe a missing piece even without a printed code. Find its position in the parts diagram, then explain its shape, colour, size relative to nearby components and intended assembly step. For example, “the small curved piece beside the cab section” gives more context than “one small part”. Include the kit name and scale shown on the box or instructions.
Include your order number or purchase details, a description of the missing component and photographs of the contents received. Add the retailer or order date if those details are available. Keep the message focused on one kit and one issue so the information is easy to match to the right parts diagram.
- Kit details: give the kit name, scale and any identifying information printed on the box.
- Purchase details: include the order number or other details that identify the transaction.
- Part description: state where the piece appears in the manual and what it looks like.
- Photographs: show the full contents, packaging and a closer view of the relevant area.
Before sending your report, compare the description with the manual again. A photograph of the complete sprue can show which branch or position is empty, while a close-up makes the gap easier to see. If the part has no label, refer to the assembly step and nearby named components instead of guessing a number. Keep the original image files clear and unedited so the details remain visible.
Save a copy of your message and attachments with the kit paperwork. If you’re asked for more detail, refer to the same order number and clarify the location, for example, “the left-side fitting shown beside the frame in the assembly diagram”. Consistent details help avoid duplicate reports or photographs of the wrong component. State whether the piece was missing on arrival or damaged during assembly, as these are different circumstances.
What should you do first if you lose a kit part?
Pause assembly before moving nearby pieces or attaching more components. A missing part may still be inside the box, caught in folded packaging or attached to a sprue. Clear the work surface and check around your cutting mat, tools and instruction sheet. This keeps the search focused and avoids disturbing parts already in place.
Use the manual or parts diagram to establish where the piece belongs. Note its shape, colour, approximate size and the assembly step that uses it. Then check the relevant sprue and bags again. If the manual gives the part a code, record it. If not, describe its position using nearby labelled pieces or the diagram.
- Stop work and keep adjoining components in their current positions.
- Check the box, packaging, sprues and work surface systematically.
- Compare the relevant parts with the manual or packing list.
- Record what is missing, and whether it was lost or damaged.
Decide whether you can continue the build without the component. A decorative fitting may not affect later assembly, while a part that supports or aligns another piece can affect how adjoining components fit. Follow the manual’s sequence, and avoid cementing a substitute or altering surrounding parts until you understand the missing part’s role. If it is broken, keep the fragments together and assess whether repair is practical.
If the part remains missing, gather the kit name, purchase details, a concise description and photographs. Show the relevant diagram or sprue position where possible. For help choosing another model project after resolving the issue, explore model railway kit options.
Narrow Minded Railworks
Narrow Minded Railworks offers model railway kits and scenery for enthusiasts planning their next build. If a missing part has interrupted your current project, the kit range can help you choose a separate model to work on while you resolve the issue. Options include OO9 Locomotive & Wagon Kits, GN15 Locomotive & Scenery Kits, and O-16.5 / 7mm Scale Kits, alongside Diorama Tools & Scenery.
Choose a model based on the scale and subject you want to build, not on a part missing from your current kit. Keep the original kit details to hand when discussing its contents, and describe an unlabelled piece by its position or appearance.
For help with your model railway plans, contact Narrow Minded Railworks.
Make your next build easier to manage
A missing component can interrupt a project, but it’s also a reminder to take a careful approach to your next build. Keep the instruction sheet and kit materials together from the start, and set aside a dedicated place for loose pieces. This makes it less likely that a part will disappear among tools, packaging or painted components.
If you’re still working out what to do if you lose a kit part, describe it by position and appearance when there’s no code. Clear details make it easier to explain the issue, while you can continue planning your next model project.
For help with your model railway plans, contact Narrow Minded Railworks. With an organised workspace and a clear next step, you can return to building with greater confidence.
Frequently Asked Questions
What can I do if my product is missing some parts?
If a newly opened kit is incomplete, pause assembly and report the missing contents to the seller or manufacturer. Keep the relevant sprue or compartment intact, since its empty position can help distinguish an omitted piece from one detached during unpacking. If you’ve started building, note which instruction step you reached. Don’t remove fitted components just to recreate the kit’s original layout.
Can you order a replacement kit part from the manufacturer?
Yes, you can ask the kit manufacturer about a replacement part. Identify the kit by name and scale, give the part’s position in the instructions, and say whether it was missing or damaged. If the model has been reissued under a different stock number, include the number printed on the box or paperwork. This helps identify the correct version.
How much do replacement kit parts cost in the UK?
Replacement-part prices vary by component, kit and seller, so there isn’t one reliable UK price to quote. A small fitting and a large moulded section may be handled differently, and postage can affect the total. When requesting a price, describe the exact part and kit, then check whether delivery is included.
Can you get a missing part replaced under a kit retailer’s returns policy?
A retailer’s policy determines whether it handles a missing piece as a replacement request or a return. Narrow Minded Railworks has a 30-day returns policy for unused items; that policy does not itself promise replacement of an individual part. For another retailer, read the relevant terms and report the issue promptly, distinguishing an incomplete kit from a change-of-mind return.