

What should you do when an OO9 locomotive body doesn’t sit neatly on its chassis? Forcing it can damage delicate resin. A careful test fit helps you check alignment and confirm that you have the right chassis before assembly. Fitting chassis to oo9 locomotive kits starts with checking the individual kit’s chassis requirements, not applying pressure.
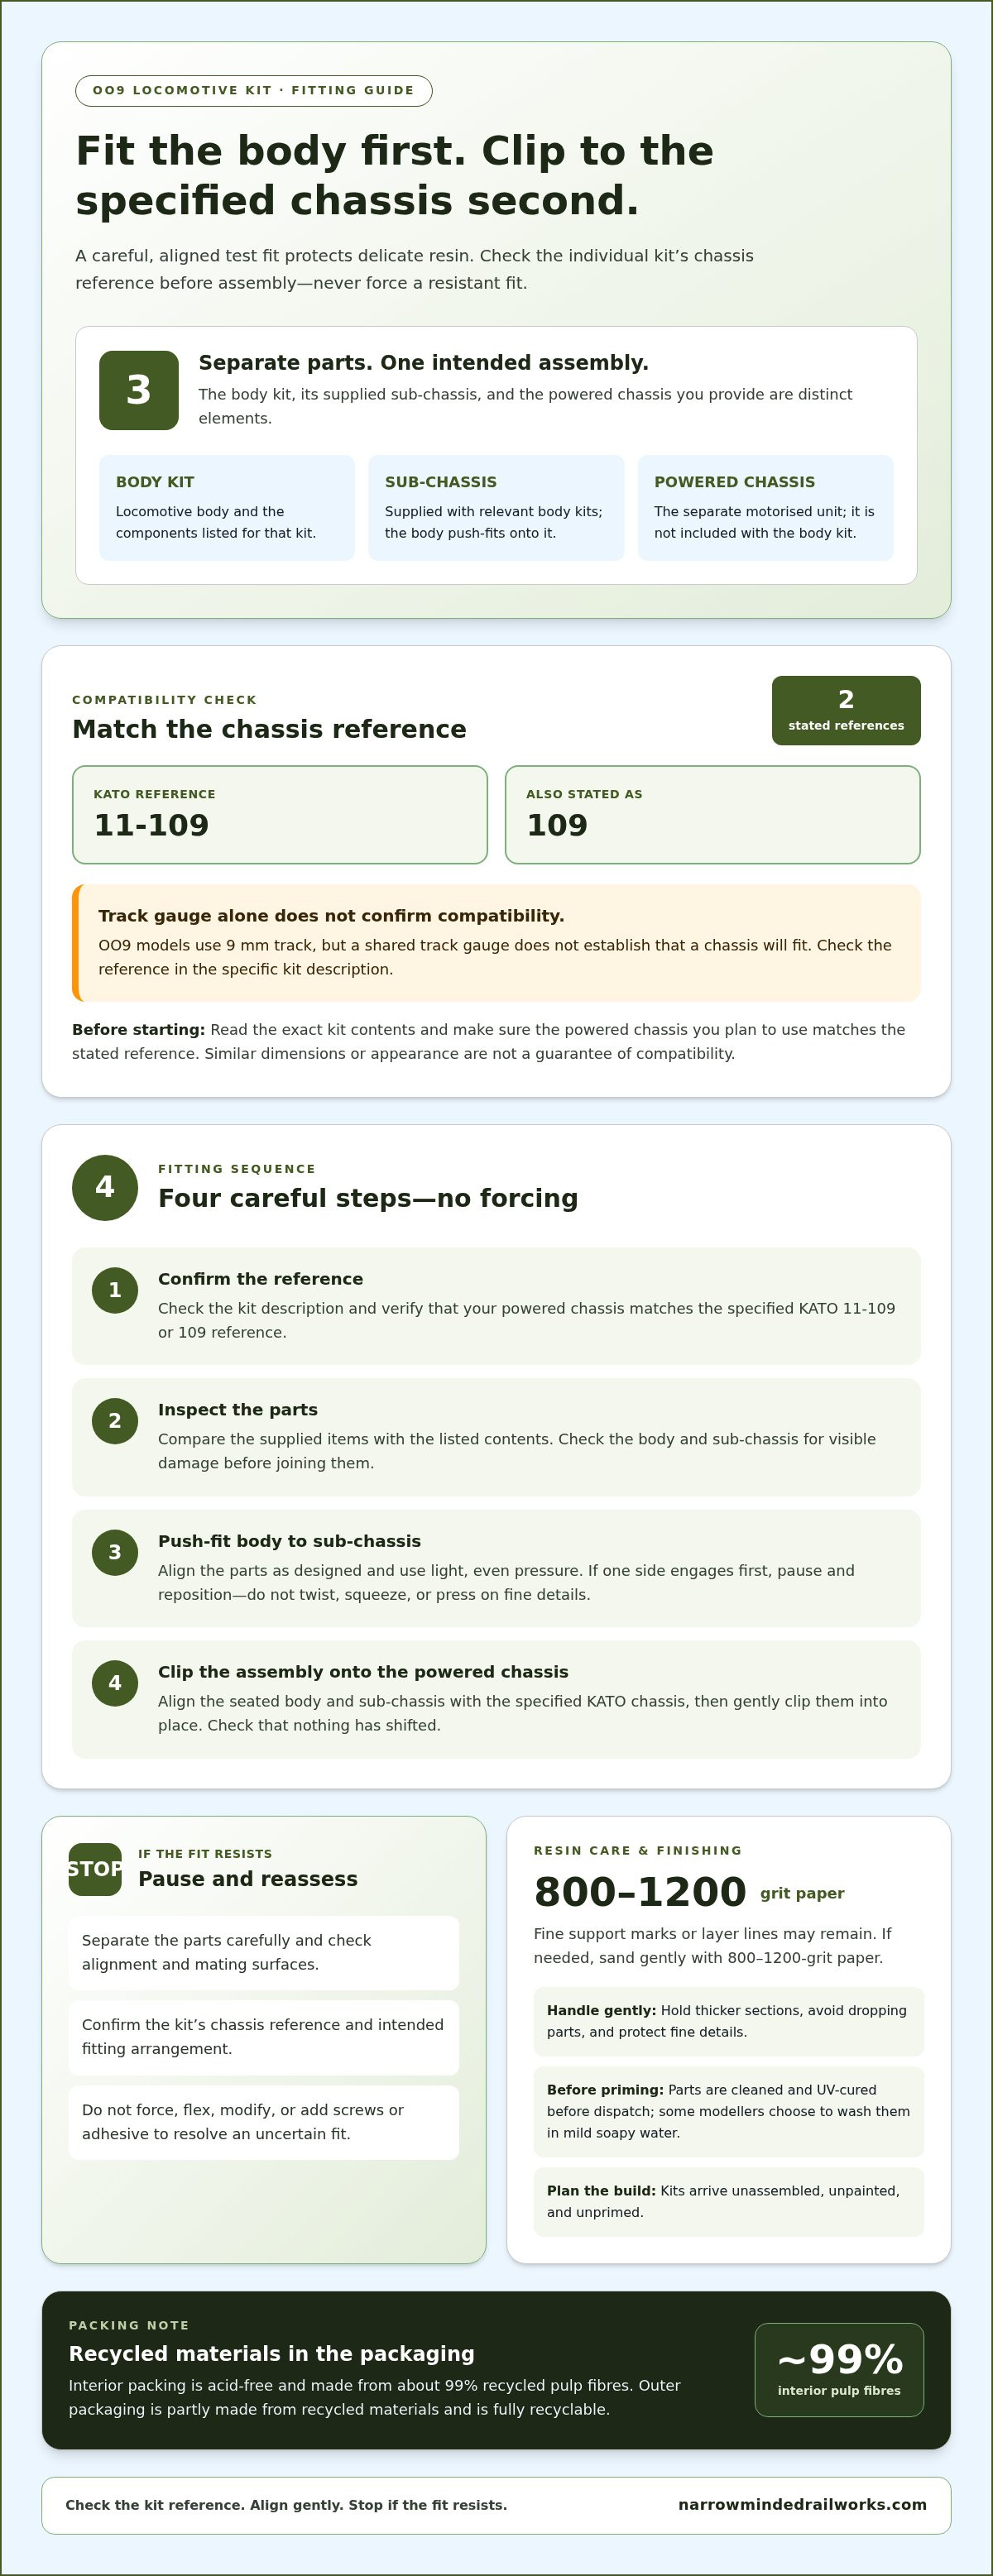
Don’t assume a locomotive kit includes everything needed to run it. These kits are supplied unassembled, unpainted and unprimed. The KATO 11-109 or 109 chassis is not included. For the relevant body kits, the body push-fits onto the supplied sub-chassis, which then clips onto the specified KATO chassis.
This guide covers compatibility, resin preparation and fitting without forcing parts. Resin is delicate: hold parts by thicker sections and avoid dropping them. Parts are cleaned and UV-cured before dispatch, though you may wish to wash them in mild soapy water before priming. Fine support marks or layer lines may remain, and can be gently sanded with 800-1200-grit paper if needed. We cannot be held responsible for breakages once your item has arrived. If the piece is broken in the post, please provide images and we will see what we can do to help.
Key Takeaways
- For fitting chassis to oo9 locomotive kits, check the chassis reference stated for the individual body kit before starting.
- Follow the intended sequence: push-fit the body onto its supplied sub-chassis, then clip that assembly onto the specified powered chassis.
- If the fit resists, separate the parts and check their alignment and mating surfaces instead of applying more pressure to delicate resin.
- Plan for assembly and finishing: kits arrive unassembled, unpainted and unprimed, and minor surface marks may need gentle attention before priming.
Before fitting an OO9 locomotive kit, identify the chassis and kit format
Before fitting chassis to oo9 locomotive kits, identify the parts you have and check what the specific kit is designed to fit. A body kit includes the locomotive body and the components listed for that kit. The powered chassis is the separate motorised unit that runs on the track. For the relevant kits, fitting means seating the body on its supplied sub-chassis, then attaching that assembly to the specified powered chassis.
OO9 models use 9 mm track, but represent narrow-gauge railways at a different scale from N gauge. The OO9 scale model railways overview gives helpful context. Shared track gauge alone does not establish chassis compatibility, so check the model reference as well.
This video shows body shells being fitted to a KATO 109 chassis:
What does a chassis-compatible OO9 kit contain?
Think of the build as three distinct elements: the kit body, any supplied sub-chassis, and the powered chassis you provide separately. The relevant body kits are designed for the KATO 11-109 or 109, as stated in each product description. The body push-fits onto its supplied sub-chassis, and that assembly then clips onto the specified KATO chassis. The KATO chassis and track are not included.
Check the product description for the exact contents; parts vary between kits. All kits arrive unassembled, unpainted and unprimed, so assembly and painting are part of the modelling project. A compatible body kit is not a complete powered locomotive.
How to check the chassis reference before starting
Match the chassis reference in the specific kit description to the powered chassis you plan to use before attempting a fit. Similar dimensions or appearance do not guarantee compatibility: small differences can affect how the sub-chassis seats or clips into place. For more selection guidance, see this beginner’s guide to choosing an OO9 locomotive kit.
- Check the KATO reference stated for your specific kit.
- Keep the body and supplied sub-chassis separate from the powered chassis you provide.
- Read the kit’s listed contents before beginning assembly.
Handle resin carefully: it’s delicate, so avoid dropping parts and hold thicker sections rather than pressing on fine details. Parts are cleaned and UV-cured before dispatch; some modellers choose to wash them in mild soapy water before priming. Fine support marks or layer lines may remain and can be gently sanded with 800-1200-grit paper if needed.
Outer packaging is partly made from recycled materials and is fully recyclable. Interior packing is acid-free and made from about 99% recycled pulp fibres. We cannot be held responsible for breakages once your item has arrived. If the piece is broken in the post, please provide images and we will see what we can do to help.
How to fit an OO9 locomotive body to a KATO 11-109 chassis
A reliable fit follows the kit’s intended order, not force. First confirm the chassis reference, then inspect the parts, push-fit the body onto its supplied sub-chassis, and clip that assembly onto the powered chassis. The KATO 11-109 or 109 chassis is supplied by the modeller, not included with the body kit.
Inspect and position the supplied parts
Before assembly, compare the parts with the exact contents listed for the kit. Set out the resin body and supplied sub-chassis, then check for visible damage and fine support marks or layer lines. Parts are cleaned and UV-cured before dispatch, but resin is delicate. Avoid drops, hold thicker sections and don’t squeeze fine details.
- Confirm the reference. Check the kit description and make sure your powered chassis matches the specified KATO 11-109 or 109 reference. Don’t assume a similar-looking chassis will fit.
- Inspect the parts. Compare the supplied items with the product description and look over the body and sub-chassis before joining them. If you notice damage, stop rather than testing the fit.
- Position the body. Align the body with its supplied sub-chassis according to the kit’s design. Apply light, even pressure to seat the push-fit. Don’t press on delicate details or twist the body to make it sit.
- Clip onto the powered chassis. Once the body is seated on the sub-chassis, align the assembly with the specified KATO chassis and gently clip it into place. Don’t add screws, adhesive or modifications to address an uncertain fit.
Test the push-fit and clip the assembly into place
A push-fit should seat with careful positioning and gentle pressure. Work over a clear, stable surface so you can support the parts and prevent them falling if they slip. If one side engages before the other, pause and reposition the assembly rather than increasing pressure. Resistance is a reason to stop and reassess, not to flex the resin.
After clipping the assembly onto the chassis, check that it sits as intended and that no part has shifted. If the fit doesn’t seem right, carefully remove the assembly and check the alignment again. Don’t force, flex or modify components to make an uncertain combination work. Confirm the kit’s stated chassis reference and fitting arrangement.
Fine support marks or layer lines may remain after printing. If needed, sand gently with 800-1200-grit paper. Some modellers also wash the parts in mild soapy water before priming. Kits are supplied unassembled, unpainted and unprimed, so assembly and finishing are part of the build. Outer packaging is partly recycled and fully recyclable, while interior packing is acid-free and made from about 99% recycled pulp fibres.
If you’re choosing a body kit for this fitting sequence, explore the OO9 locomotive kits and use each product’s chassis reference to plan the build.
Troubleshoot an OO9 chassis fit without forcing delicate resin parts
A fit that feels wrong is a reason to pause, not press harder. During fitting chassis to oo9 locomotive kits, resistance may indicate a mismatched chassis reference, misalignment, or a visible obstruction on the seating surfaces. Resin is delicate, so stop if pressure starts to flex the body or sub-chassis. Hold thicker sections, avoid drops and don’t push on fine details.
If the body or sub-chassis does not seat evenly
First identify where the uneven fit occurs. The body should push-fit onto its supplied sub-chassis; that assembly then clips onto the specified KATO chassis. Check the product description and confirm you have the right components and the stated KATO 11-109 or 109 reference. Similar appearance or dimensions aren’t enough to establish compatibility.
- One side sits higher: Gently separate the parts and check their orientation before trying again.
- The fit stops partway: Inspect the mating area for a visible obstruction and compare the parts with the product-specific fitting description.
- The chassis and assembly don’t align: Recheck the chassis reference rather than trying to make the parts meet.
Don’t assume a tight fit should be forced into place. Carefully remove the assembly, support thicker sections and check for a straightforward alignment issue. If you can’t identify one, leave the parts apart until you can verify the reference and fitting arrangement. Avoid trimming, heating, glue or other modifications; they aren’t substitutes for confirming the correct fit.
If a clip feels tight or the fit remains uncertain
A clip should engage without visibly flexing the resin. If you feel strong resistance or see the body or sub-chassis bend, stop the test fit immediately. Ease the parts apart without twisting, then check their orientation and reread the kit description before trying again. Extra pressure is not a way to find out whether the clip will seat.
Don’t assume compatibility with an unlisted chassis, even if it looks close to the specified model. Relevant kits are designed around the KATO 11-109 or 109 chassis stated for each product; another reference may have different seating or clipping points. Confirm the stated reference before continuing.
Parts are cleaned and UV-cured before dispatch. Some modellers wash them in mild soapy water before priming; this is preparation, not a fix for a poor fit. Fine support marks or layer lines may remain and can be gently sanded with 800-1200-grit paper if needed. Outer packaging is partly recycled and fully recyclable, with acid-free interior packing made from about 99% recycled pulp fibres.
Prepare and finish resin parts after fitting the OO9 chassis
Once the body and sub-chassis have been test-fitted, keep chassis fitting separate from surface preparation. The fit check confirms that the parts seat as intended; washing, sanding, priming and painting prepare the model for finishing. For fitting chassis to oo9 locomotive kits, doing these tasks in order helps avoid mistaking a surface mark for a chassis-fit problem.
Handle and clean the resin safely
Resin is delicate. Hold parts by thicker sections, avoid squeezing fine details and work over a clear surface to reduce the risk of dropping them. Parts are cleaned and UV-cured before dispatch, but some modellers may wish to wash them in mild soapy water before priming. Washing is preparation, not a way to remove every support mark or print line.
Let the parts dry before priming. Keep the body and sub-chassis supported while handling them, particularly when separating them after a test fit. If a part feels fragile or starts to flex, stop and change your grip instead of applying more pressure.
Address small surface marks before priming
Fine support marks or layer lines may remain after supports are removed. Inspect the surface in good light and work only on marks that need attention. Use gentle 800-1200-grit sanding where needed; avoid aggressive pressure, especially around thin details and edges. Sanding is for surface preparation, not for altering a part because the chassis fit feels uncertain.
After sanding, remove any residue before priming. Kits arrive unassembled, unpainted and unprimed, so assembly and finishing remain part of the modeller’s work. Washing and careful surface preparation help you prepare clean parts for priming, but do not change the kit’s specified chassis compatibility. If you’re planning the finish as well as the fit, this guide to painting 3D-printed models covers the next stage.
Take your time. Address small marks selectively; parts that need no further surface work can move on to priming when you’re ready. Keep the chassis and body assembly supported during preparation, and avoid dropping or pressing on delicate resin.
Ready to plan a build around a compatible body kit? Explore OO9 locomotive kits and use the product details to prepare for fitting and finishing.
Choose a compatible OO9 locomotive kit and plan your next fitting step
Once you know the fitting sequence, compare kit contents before choosing a build. Each example below costs £25.00, but the supplied parts differ. Check the product description for the exact contents and chassis reference. The KATO chassis is not included and is shown for information only. Track is not included.
Compare the confirmed KATO-compatible kit examples
| Kit | Price | Included items | Required chassis |
|---|---|---|---|
| Hungarian Forestry | £25.00 | resin body, separate headlamps, brass 0.3 mm wire for handrails, and sub-chassis only | Buyer-owned KATO 11-109 or 109, as specified by the product |
| Diema DS60 | £25.00 | resin body, sub-chassis, brass hand-rails, 3D-driver figure | Buyer-owned KATO 11-109 or 109, as specified by the product |
| Peckett | £25.00 | resin body, clip-on chassis frame, two 3D-scanned crew figures, two Peregrine couplers | Buyer-owned KATO 11-109 or 109, as specified by the product |
The Peckett measures approximately 58 mm L × 25.5 mm W × 38 mm H. Keep each row’s contents with its named kit; parts supplied for one model should not be assumed to come with another. Check the specific description for the chassis reference before planning the fit, then compare the listed components with the parts supplied.
Know what to expect when ordering and receiving a kit
These kits are supplied unassembled, unpainted and unprimed, so include assembly and finishing in your modelling plan. Resin is delicate: handle parts carefully, hold thicker sections and avoid dropping them. Parts are cleaned and UV-cured before dispatch, though some modellers wash them in mild soapy water before priming. Fine support marks or layer lines may remain; if needed, sand gently with 800-1200-grit paper.
Orders are dispatched by Royal Mail, with worldwide shipping options available. Outer packaging is partly made from recycled materials and fully recyclable; interior packing is acid-free and made from about 99% recycled pulp fibres.
Ready to plan your next build? Explore OO9 locomotive kits and use each product’s listed contents and chassis reference to prepare for fitting.
Set up your next OO9 build with confidence
Make a simple build plan: choose the body kit, note its specified chassis reference, and set aside time for assembly and finishing. This gives you a clear starting point before handling the resin and fitting chassis to oo9 locomotive kits. Narrow Minded Railworks designs and sells hand-crafted 3D-printed narrow-gauge kits, including OO9 bodies designed for the KATO 11-109 or 109 chassis specified for each kit. The chassis is bought separately, so plan for it as a distinct part of your project.
A measured approach leaves room to enjoy the modelling rather than rushing a delicate fit. Use the kit details to choose a build that suits your project, then work through each stage carefully.
Explore OO9 locomotive kits and take the next step towards your own narrow-gauge build.
Frequently Asked Questions
Is the KATO 11-109 chassis included with an OO9 locomotive body kit?
No. The KATO 11-109 chassis isn’t included; it’s shown for information only, and you supply the reference specified for your kit. Compare the model number on your chassis with the product description rather than relying on a photograph or general OO9 suitability. Don’t assume another KATO chassis is interchangeable based on appearance. Confirming the reference before assembly helps avoid an uncertain test fit.
Can I fit an OO9 body kit to a different chassis?
Don’t assume an unlisted chassis will fit. Relevant Narrow Minded Railworks body kits are designed for KATO 11-109 or 109 chassis, with the exact reference depending on the individual kit. If your chassis has another model number, pause before assembly and return to the kit description. If the body doesn’t seat as intended, stop and reassess rather than forcing, trimming or modifying the delicate resin.
What should I do if an OO9 chassis clip feels too tight?
Stop if the clip or resin begins to flex under pressure. Gently separate the parts, then check their orientation, the stated chassis reference and the contact area for an obstruction or misalignment. The intended arrangement is a push-fit body onto the supplied sub-chassis, followed by a clip onto the specified chassis. If the assembly still feels uncertain after these checks, leave it apart rather than forcing it into place.
Do OO9 locomotive body kits arrive ready to run?
No. These are unpainted, unprimed and unassembled kits, not ready-to-run locomotives. You supply the specified powered chassis and carry out the assembly and painting. Contents vary by kit, so refer to its individual description to see which parts are supplied. A chassis or track shown in product imagery is for reference only and isn’t included. Keep this in mind when planning the complete build, including the separate powered unit.
Should I wash a resin kit before priming it?
Parts are cleaned and UV-cured before dispatch, but some modellers choose to wash them in mild soapy water before priming. Handle resin carefully because it’s delicate: avoid dropping parts and don’t put pressure on fine details. Washing doesn’t necessarily remove fine support marks or layer lines. If surface marks remain, sand gently with 800-1200-grit paper where needed, then prepare the part for priming.
What if a resin part arrives broken?
Resin is delicate, so handle each part carefully, hold thicker sections and avoid dropping it during fitting.
How is an OO9 resin kit packaged for shipping?
The outer packaging is partly made from recycled materials and fully recyclable. Interior packing is acid-free and made from about 99% recycled pulp fibres. Orders are dispatched by Royal Mail, with worldwide shipping options available.