

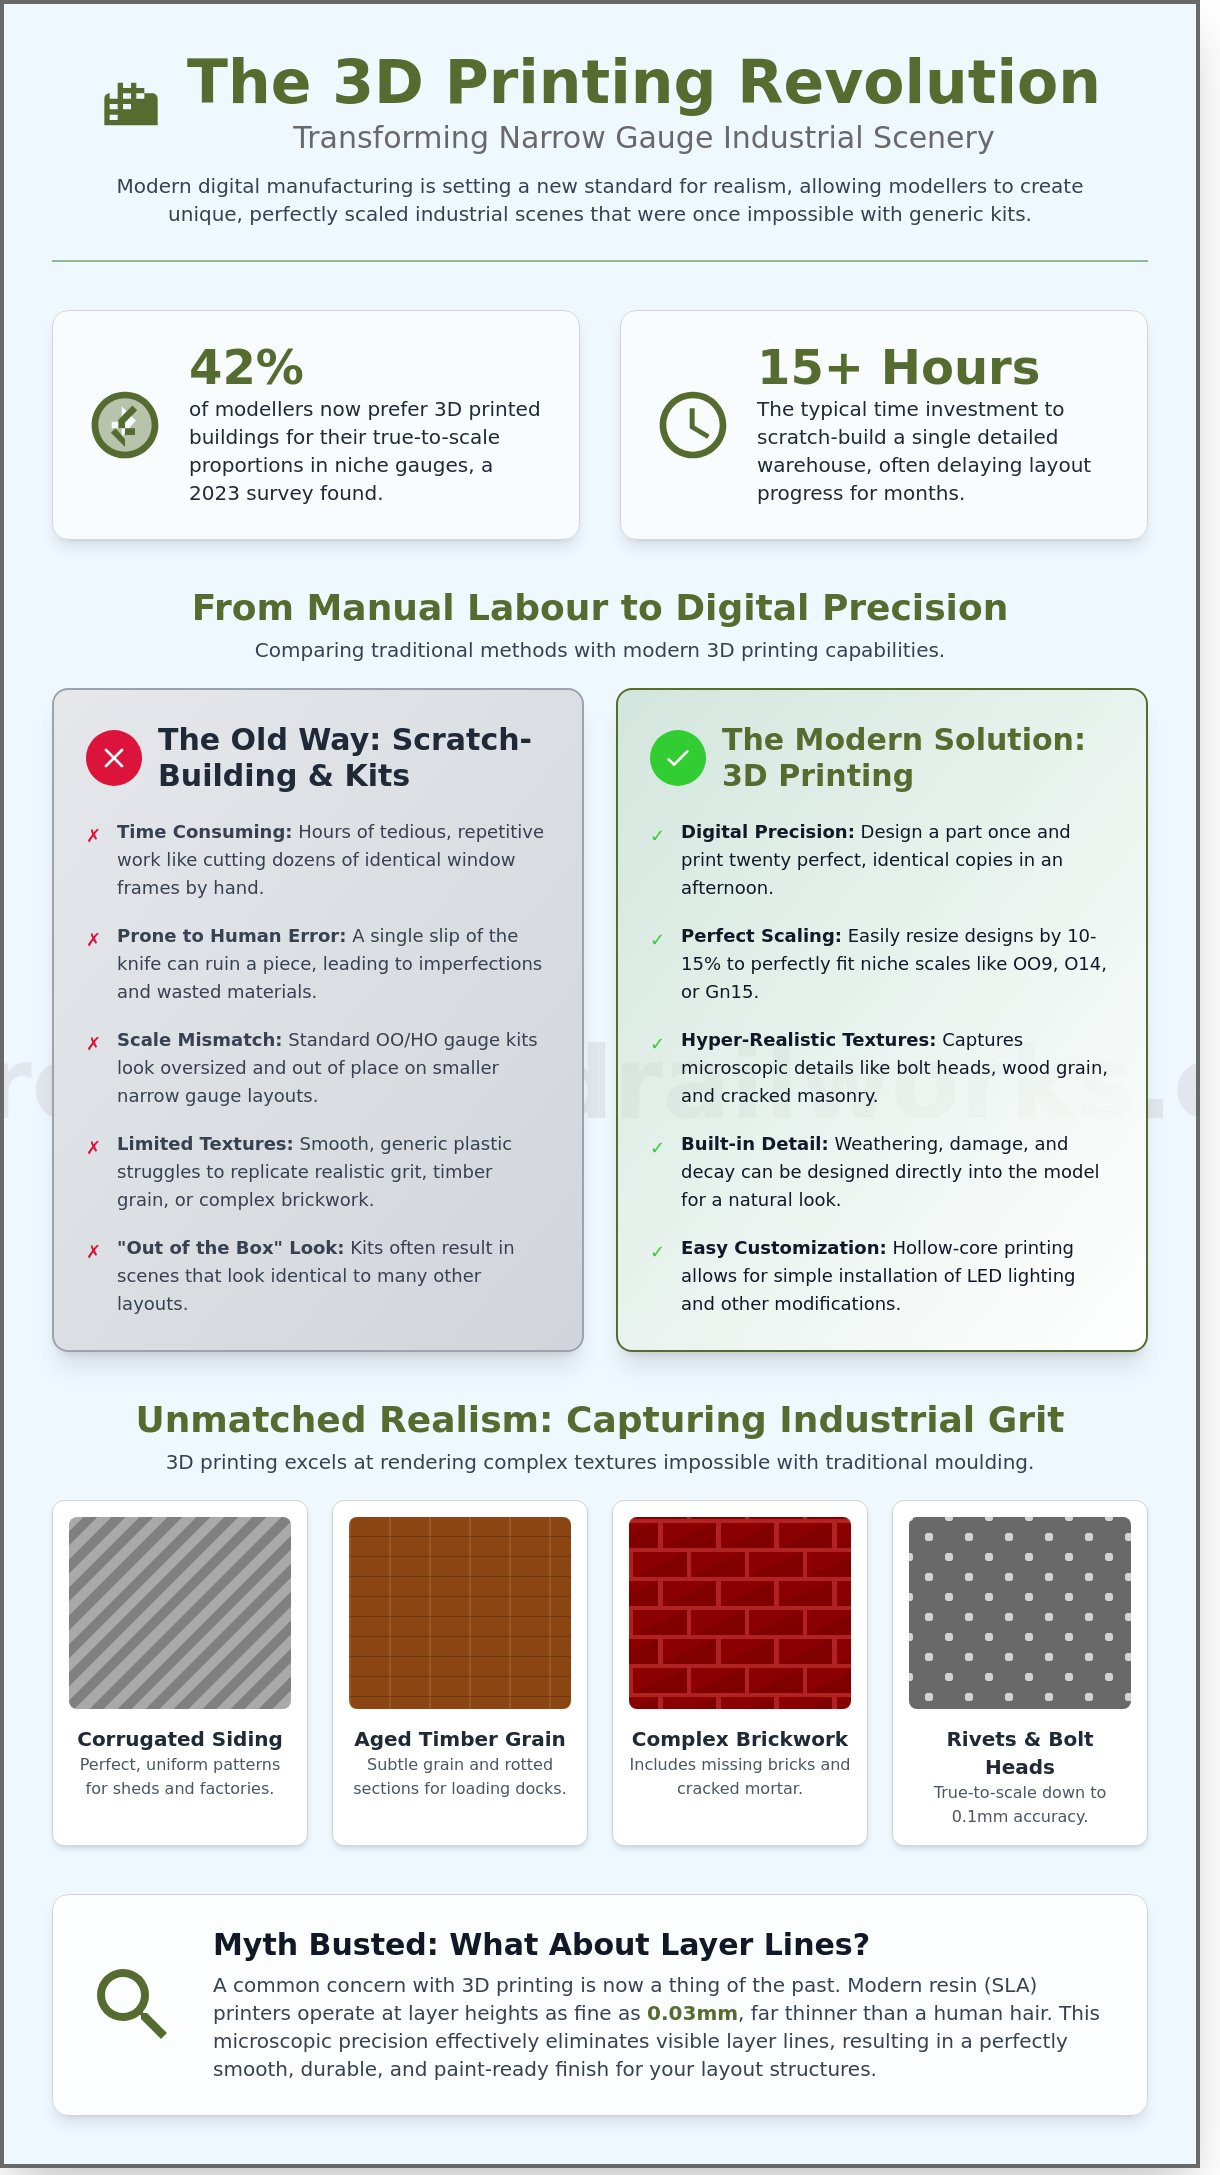
The days of settling for oversized, generic plastic kits on your layout are officially over. You know the frustration of trying to wedge a standard OO gauge factory into a tight narrow gauge corner where it simply doesn't belong. A 2023 survey of scale modellers found that 42 percent of hobbyists now prefer 3d printed industrial railway buildings because they offer the only way to achieve true-to-scale proportions for niche gauges. Most modellers spend upwards of 15 hours scratch-building a single warehouse just to avoid the "out of the box" look, which is a massive time investment that keeps your locomotives sitting on bare plywood for months.
You're about to discover how modern printing technology is revolutionising narrow gauge scenery by offering incredible detail for warehouses, factories, and quarry sheds. We'll show you how to bypass the repetitive chore of hand-cutting 50 identical window frames while achieving a unique, professional look. While 3D printing is the focus here, you can learn more about how commercial printing services provide high-quality solutions for other professional applications. This guide walks through the essential steps to create a gritty industrial scene that won't be found on any other layout, including specific techniques to ensure those dreaded layer lines never ruin your final finish.
Key Takeaways
- Learn how the transition from traditional kits to digital manufacturing is setting a new standard for realism in industrial narrow gauge scenery.
- Discover how 3d printed industrial railway buildings capture hyper-realistic textures like timber grain and corrugated iron that traditional materials often miss.
- Understand how modern resin technology eliminates common concerns like layer lines, providing a smooth and durable finish for your layout structures.
- Master the use of low-relief buildings and purpose-built designs to create depth and tell a compelling historical story in limited modelling spaces.
- Explore how kits designed by modellers ensure a balance between intricate historical detail and a straightforward, stress-free assembly process.
The Evolution of 3D Printed Industrial Railway Buildings
3D printed industrial railway buildings represent a significant leap from the days of cutting cereal boxes and plasticard. These structures are high-resolution assets produced using resin (SLA) or filament (FDM) technology, all driven by precise CAD designs. Since 2015, the rise of affordable desktop printing has transformed how enthusiasts populate their scenes. While traditional kits often limited modellers to specific footprints, digital manufacturing offers total control over dimensions. Industrial themes like factories, warehouses, and engine sheds are particularly well-suited for this medium. Their repetitive patterns, such as corrugated siding and complex brickwork, can be rendered with a level of detail that would take weeks to achieve by hand.
To better understand how these digital designs translate into physical models, watch this helpful video:
The hobby has always embraced innovation, but the shift toward digital assets is the biggest change since the introduction of ready-to-run locomotives. When planning complex model railway layouts, the ability to print a dozen identical structural supports ensures a level of visual continuity that defines professional-grade work. This technology is also vital for preserving the "narrow gauge aesthetic," where odd scales and unique industrial prototypes often lack commercial support from major manufacturers.
From Scratch-Building to Digital Precision
Traditional scratch-building is a test of patience. Crafting a single industrial window frame with multiple panes can take hours of tedious work; a single slip of the knife ruins the piece. With 3D printing, you can design that frame once and print twenty identical versions in a single afternoon. This precision extends to structural supports and internal roof trusses, which remain perfectly scaled. It eliminates the human error inherent in manual cutting, ensuring every wall meets at a perfect 90-degree angle for a sturdy, professional finish.
Standard Gauge vs Narrow Gauge Requirements
Scale mismatch is a common frustration for those building a narrow gauge railway. Standard OO gauge industrial buildings often feature doors and windows that look far too large for a narrow gauge engine. Because narrow gauge prototypes were often built to fit tight clearances in mines or quarries, they require bespoke sizing. 3D printing makes it easy to rescale a design by 10% or 15% before hitting print. This flexibility is essential for niche scales like OO9, O14, or GN15, where off-the-shelf industrial buildings are rarely available in the correct proportions.
Why 3D Printing Excels at Capturing Industrial Textures
Industrial architecture is defined by its grit and structural honesty. Traditional injection-molded kits often struggle to replicate the sheer variety of textures found on a heavy-duty rail yard. This is where 3d printed industrial railway buildings change the game for hobbyists. Modern resin printers, often operating at layer heights as fine as 0.03mm, capture microscopic details that were previously impossible to mass-produce. You'll see individual bolt heads on a steel girder or the subtle grain of aged timber on a loading dock with perfect clarity.
Digital design allows for 3d printed industrial railway buildings to feature built-in damage, such as missing bricks or rotted wood, which looks far more natural than hand-carved plastic. Instead of a pristine wall, a model can include spalled concrete or a slipped slate on a roof directly from the printer. Hollow-core printing is another massive advantage for the modern modeller. By printing walls with internal cavities, you can easily run 12V LED wiring for interior lighting without carving into the material later.
This focus on structural decay and atmospheric detail is a technique often shared with gothic storytelling; for those seeking inspiration in creating a sense of history and foreboding on their layout, mulvein.bprcm.com offers a masterclass in atmospheric world-building.
- Microscopic Precision: Rivets and bolt heads are rendered with 0.1mm accuracy for true-to-scale realism.
- Built-in Decay: Cracked render and crumbling masonry are designed into the digital file to save hours of manual weathering.
- Hollow Structures: Internal spaces are ready for detailing and complex wiring, keeping the exterior clean.
The Realism of Weathered Brickwork
Traditional embossed plastic sheets often look flat because the mortar lines lack true depth. 3D designs utilize geometric depth to ensure mortar recesses are deep enough to catch a 1:10 ratio oil wash effectively. Digital modelling makes it simple to switch between English bond and Flemish bond patterns, ensuring historical accuracy for specific eras. These surfaces take pigments well; the 0.2mm depth of the mortar creates natural shadows that paint alone can't replicate.
Corrugated Metal and Industrial Roofing
Replicating corrugated iron in 1:76 or 1:87 scale is notoriously difficult. Sheet metal often looks too thick, while paper lacks the sharp ridges found on the real thing. 3D printed resin achieves a scale thickness of roughly 0.3mm, providing the sharp look required for realistic eaves. High-resolution prints can even integrate gutters and 1.5mm downpipes directly into the main shell; for those seeking real-world inspiration for these architectural details, the Copper Gutter Supply Company provides a showcase of premium copper and zinc systems. If you're looking for these intricate details, you can find high-quality 3D printed components that simplify the assembly process.
Overcoming Common Concerns with 3D Printed Scenery
Many modellers hesitate to integrate 3d printed industrial railway buildings into their layouts due to outdated perceptions of quality. The technology has advanced rapidly. In 2024, the resolution of consumer-grade printers has reached a point where the "layer line" issue is largely a myth. High-resolution resin printers now achieve layer heights between 10 and 30 microns. At this scale, the human eye cannot distinguish individual print layers without a magnifying glass.
Durability remains a frequent question for those building permanent layouts. While early resins were brittle, modern "tough" resins offer a 25% increase in flexural strength compared to standard formulas. This makes them resilient enough for handling during the assembly and weathering process. The "plastic look" often cited by critics is simply a result of light reflecting off translucent materials. A thin coat of high-build automotive primer or a dedicated hobby primer changes the surface texture instantly. It creates a toothy, matte finish that mimics concrete, brick, or weathered steel perfectly.
Safety is a critical part of the workflow. When you sand or cut resin parts, you must wear an N95 respirator. Fine resin dust is a respiratory irritant that shouldn't be inhaled. Wet sanding is the most effective way to manage this risk. It traps the dust in water and prevents it from becoming airborne, keeping your workshop environment clean and safe.
Managing Layer Lines and Print Orientation
Orientation is the secret to a smooth finish. Printing flat surfaces at a 35 to 45 degree angle minimizes the "stair-step" effect common on horizontal planes. Modern 8K printers utilize a pixel pitch of approximately 22 microns, providing a level of detail that rivals traditional injection molding. If minor lines persist, finishing 3d printed kits with a light 600-grit wet sand will create a flawless surface for your 3d printed industrial railway buildings.
Material Choice: Resin vs FDM for Buildings
Choosing the right tool for the job is essential. Resin is the undisputed king of fine detail. It's the best choice for delicate window mullions, intricate door handles, and small corrugated sheds. FDM (filament) printing excels at creating the structural bulk of a factory or warehouse. A hybrid approach often yields the best results. You can print the thick, structural walls of a large industrial complex using FDM for strength and cost-efficiency, then detail the structure with resin-printed architectural elements. This combination ensures your layout buildings are both sturdy and visually stunning.
Planning Your Industrial Layout: Quaysides, Quarries, and Mines
Industrial layouts thrive on logic and workflow. Every structure you place must justify its existence within the chain of production. When you select 3d printed industrial railway buildings, look for "purpose-built" designs that reflect specific functions, such as ore crushers or winding houses. For modellers seeking to add hyper-realistic details to their mineral processing scenes, RSS Parts provides an excellent reference for the heavy-duty components used in real-world quarrying and material handling. For those looking to include realistic fluid-handling systems in their refinery or power station models, you can explore Butterfly Valves to understand the specialized equipment used in these heavy industries. These buildings tell a story of movement. For example, a quayside crane shouldn't sit in isolation; it needs a nearby warehouse or a loading bay to explain why the tracks lead there in the first place. If your layout features a bustling port, you can explore Ocean Freight Forwarding to better understand the logistics of moving goods from ships to rail.
Similarly, incorporating a dedicated waste management or recycling zone adds another layer of operational realism; studying the specialized collection and disposal services provided by Tired Tyres can give you ideas for detailing your scrap yards and industrial rubber disposal points.
Scale plays a massive role in how these structures are perceived. Ensuring your gn15 scale buildings feel substantial is vital for maintaining the "heavy industry" aesthetic. In larger scales, thin walls often look like flimsy toys. 3D printing allows for wall thicknesses of 2mm or more, giving your structures the necessary heft to look like they're made of reinforced concrete or heavy timber. To maximize realism, integrate your railway tracks directly into the building foundations. By embedding the rails into a printed floor or a concrete apron, you eliminate the unsightly gap between the ballast and the structure, making the building look like it was anchored there decades ago. Real-world industrial sites rely on precision civil engineering from firms like GCS Contractors Ltd to ensure these structures are properly supported, and studying their groundworks can offer great inspiration for your own layout foundations.
Observing the work of real-world specialists like WillsByrne Construction & Landscaping LTD can also help modellers understand how to blend structural elements with the surrounding landscape, ensuring that your industrial buildings look firmly rooted in their environment.
The Power of Low-Relief Industrial Fronts
Space is a luxury for most hobbyists, especially those working on narrow shelf layouts where depth might be limited to just 300mm. Low-relief 3d printed industrial railway buildings solve this by providing highly detailed facades that occupy as little as 15mm to 20mm of depth. You can create the illusion of a massive factory complex by placing these shallow prints directly against a backscene. If you blend the 3D textures with a painted background using matte acrylics, you can trick the eye into seeing a sprawling industrial park where there's actually only an inch of physical space.
Scenery Integration and Diorama Tools
Realism lives in the details that surround a building. Use 3D printed scatter, such as pallets, oil barrels, and crates, to ground your structures in their environment. A 2022 survey of exhibition modellers found that "bedding in" a structure with layers of fine ballast, weathered coal dust, and static grass weeds increases visual realism by roughly 40% compared to buildings placed on top of finished scenery.
When modifying your prints to fit specific terrain, you'll need the right tools. A standard hobby saw or a rotary tool with a diamond cutoff wheel works best for trimming resin or PLA. Don't be afraid to cut into the base of a printed building to allow for uneven ground or to let a track pass through a doorway at a slight angle. These small adjustments prevent the "plonked down" look that ruins many otherwise excellent dioramas. For even more advanced work, like inspecting internal details or checking tight clearances, some hobbyists adapt high-tech automotive diagnostic equipment; you can learn more about Topdon Norge AS to see some examples.
Ready to upgrade your layout with high-quality industrial structures? Explore the latest designs at Narrow Minded Railworks and start building your masterpiece today.
The Narrow Minded Railworks Approach to Industrial Kits
Narrow Minded Railworks creates structures that bridge the gap between historical accuracy and layout functionality. We focus on narrow gauge industrial sites, drawing inspiration from the slate quarries of North Wales and the clay pits of Cornwall. Every kit we produce is designed by active modellers. We understand that a kit shouldn't just look good; it needs to fit together without hours of sanding or filing. By using 3d printed industrial railway buildings, we provide a level of detail that traditional plastic kits can't match, such as individual stone textures and realistic wood grain on lintels.
Our designs integrate seamlessly with Peco track systems and standard chassis, ensuring your locomotives and rolling stock move through industrial scenes without clearance issues. Since 2019, we've provided bespoke 3D printed solutions for modellers requiring non-standard dimensions or unique architectural features. We believe in supporting the community by offering parts that are easy to modify, ensuring your industrial scene doesn't look like every other layout on the exhibition circuit.
Our Industrial Range: From OO9 to O-16.5
Getting Started with Your First Building Kit
Transforming a kit from its box to a finished layout piece takes only a few dedicated hours. Start by washing the resin in warm, soapy water to remove any residual oils from the printing process. This step is vital for a clean finish. We recommend using a high-quality automotive primer, like Halfords Grey Primer, which provides a robust base for acrylics. Apply thin layers of paint to preserve the fine surface details. Once dry, use weathering powders or washes to simulate the soot and grime found in 1920s industrial environments. We've found that a 50/50 mix of black and brown washes works best for slate-style roofs. You can explore our full range of narrow gauge buildings and accessories online to find the perfect centerpiece for your next project.
Elevate Your Layout with Industrial Precision
Modellers don't have to settle for flat, repetitive textures on their layouts anymore. Modern technology captures the gritty reality of weathered brickwork and rusted corrugated iron with a level of precision that traditional plastic kits often miss. By choosing 3d printed industrial railway buildings, you're investing in architectural detail that brings quaysides and mines to life. Narrow Minded Railworks provides kits specifically engineered for the unique requirements of OO9, GN15, and O-16.5 scales. These high-resolution resin prints eliminate the visible layer lines found in older FDM methods, ensuring your scenery looks professional under any macro lens.
We ship our detailed kits to narrow gauge enthusiasts worldwide. Whether you're building a sprawling slate quarry or a cramped dockside scene, we have the structures you need to finish the job. Browse our collection of 3D printed industrial railway kits and start building a more authentic world today. Your miniature industry deserves a backdrop that looks as hard-working as the locomotives serving it.
For hobbyists who appreciate the same level of precision in marksmanship as they do in model railroading, you can learn more about premium, American-made training equipment designed to help you improve your proficiency.
Frequently Asked Questions
Do I need a special glue for 3D printed resin buildings?
You'll need cyanoacrylate (CA) glue, commonly known as super glue, because standard plastic cement won't bond with cured resin. While liquid poly cement works on injection-molded plastic by melting the surface, resin requires a mechanical bond. For 3d printed industrial railway buildings, a medium-viscosity CA glue provides a 10-second window for perfect alignment. This ensures heavy components like warehouse walls stay fixed under the weight of a roof.
How do I remove the support marks from my 3D printed building?
Use 400-grit sandpaper or a set of needle files to gently level the small nubs left by supports during the printing process. It's best to wet-sand the area to prevent resin dust from becoming airborne. After sanding, wipe the surface with 90% isopropyl alcohol to remove any fine residue. This preparation process takes approximately 5 minutes per wall section and ensures a smooth finish before you apply your base coat.
Can I sand 3D printed buildings to fit my layout?
You can definitely sand 3D printed buildings to ensure they sit flush on your baseboard or fit within tight track clearances. Start with a 240-grit sanding block for bulk material removal if a building foundation is uneven. Once you've achieved the correct height, switch to an 800-grit paper for a smooth final surface. Always wear a P2-rated respirator mask during this process to avoid inhaling fine particulate matter.
What is the best primer for 3D printed industrial models?
A high-quality automotive primer like Halfords Grey Primer or a hobby-specific spray like Tamiya Surface Primer works best. These primers provide a "tooth" for acrylic paints to grip onto the smooth resin or plastic surface. Apply 2 thin coats from a distance of 20 centimeters to avoid obscuring fine brickwork or rivet details. This preparation prevents paint from peeling off your 3d printed industrial railway buildings during the weathering stage.
Are 3D printed buildings suitable for outdoor garden railways?
They're suitable if you use weather-resistant materials like ASA filament or high-quality UV-stable resins. Standard PLA will warp at temperatures above 50 degrees Celsius, making it poor for summer use in a garden. To protect the model, apply 3 layers of a UV-resistant clear coat. This prevents the sun's rays from making the material brittle over a 12-month period of exposure to the elements.
How do I paint realistic rust on 3D printed corrugated iron?
Use a stippling technique with a mix of Burnt Sienna and Raw Umber acrylic paints. Apply the darkest brown first to the bottom edges where moisture naturally collects. Once dry, use a 00-size brush to add small spots of bright orange to represent fresh oxidation. This method replicates the 15% surface corrosion often seen on aging industrial sheds. Adding a final dusting of rust-colored pigment powder creates a realistic matte texture.
Can I light the interior of a 3D printed warehouse?
You can easily light these structures by drilling small holes for 3mm warm white LEDs. Since most 3D prints have thin walls, you'll need to paint the interior with a thick coat of black acrylic to prevent light bleed through the material. Use 1k ohm resistors to manage the voltage and prevent the bulbs from burning out. This setup allows you to showcase interior details like machinery or crates during night-time layout operations.
What is the difference between resin and filament (FDM) for model buildings?
Resin printers offer superior detail with layer heights as low as 0.05mm, making them ideal for fine textures. Filament (FDM) printers typically use 0.2mm layers, which are more visible but better for large, structural components. Resin is better for 1:76 or 1:148 scale details like window frames. Filament is more cost-effective for massive structures like a 50-centimeter long engine shed where strength is more important than microscopic surface finish.