

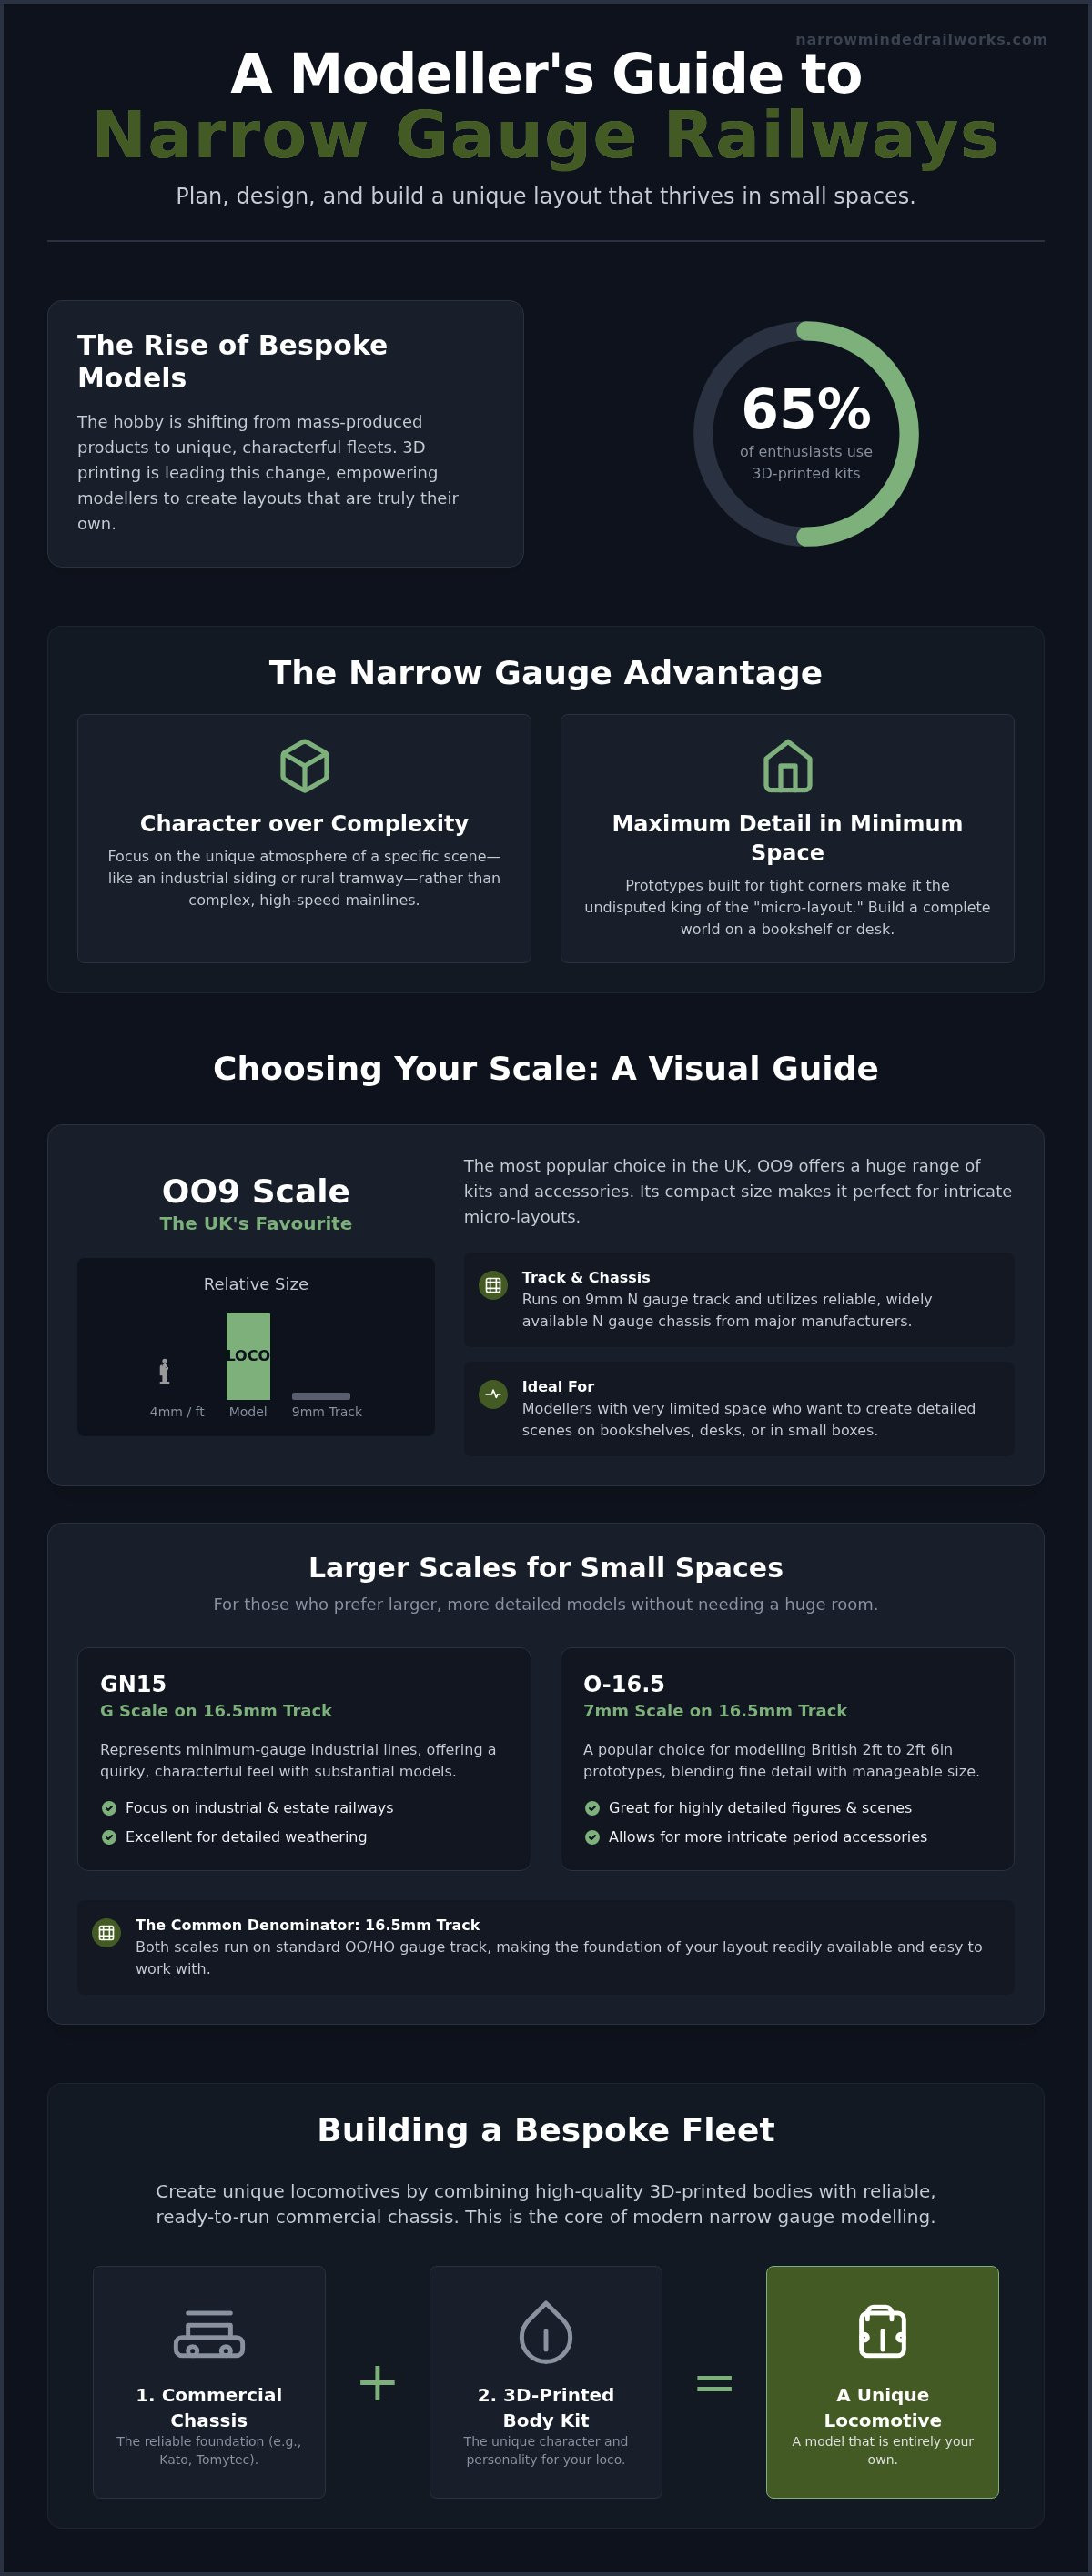
Did you know that 65% of narrow gauge enthusiasts have integrated 3D-printed kits into their model railway fleets as of 2026? This shift shows that modellers are moving away from mass-produced products toward more bespoke, characterful creations. You might feel overwhelmed by the technical differences between OO9 and GN15 scales, or perhaps you worry that your home lacks the space for a traditional setup. It's a common concern, but narrow gauge model railway layouts actually thrive in compact, unconventional areas like bookshelves or small desks.
This article provides a clear roadmap to help you plan, design, and build a layout that reflects your creative vision. We'll explore how to choose a scale that fits your available room and how to utilize reliable commercial chassis as a foundation for unique 3D-printed bodies. By the end, you'll have the confidence to stop browsing and start building a railway that's truly your own. Whether you're interested in industrial lines or rural branch lines, the path to a finished layout is simpler than you think.
Key Takeaways
- Learn why narrow gauge model railway layouts prioritize character and creative detailing over complex track runs, making them ideal for small living spaces.
- Understand how to select the right scale for your project, comparing the compact nature of OO9 with the larger presence of GN15 and O-16.5.
- Discover how to maximize operational interest in tiny footprints using proven track designs like the Inglenook and Timesaver layouts.
- Master the transition from mass-produced models to bespoke fleets by pairing unique 3D-printed locomotive bodies with reliable, commercial chassis.
- Gain insights into creating a realistic industrial aesthetic through weathered scenery kits and scale-appropriate figures that add life to your scene.
Why Choose Narrow Gauge for Your Next Layout?
Narrow gauge model railways represent prototypes where the rails are spaced closer together than the standard 4ft 8.5in. While standard gauge layouts often demand vast spaces for realistic operation, narrow gauge model railway layouts thrive on a "character over complexity" philosophy. This approach prioritizes the unique charm of industrial sidings, rural tramways, and mountain climbs over high-speed mainline running. Choosing narrow gauge allows you to focus on the atmosphere of a specific scene rather than the sheer scale of the track plan.
Adopting this niche requires a shift in mindset. You might feel restricted by the lack of mass-produced models compared to standard gauge. However, the narrow gauge community offers a proactive solution through "Rule #1": it's your railway, and you can do whatever you like. This creative freedom encourages you to build fictional lines or blend industrial prototypes to suit your vision. Whether you're modelling a slate quarry or a remote village link, the focus remains on storytelling and intricate detailing.
Narrow Gauge vs. Standard Gauge: The Modeller’s Choice
Standard gauge models carry a certain visual weight that often requires long, sweeping curves to look convincing. Narrow gauge prototypes are different; they were built to navigate rugged terrain and tight corners. This makes them inherently more accessible for home modelling. Instead of chasing the speed of an express train, you can focus on the slow, rhythmic movement of a small locomotive hauling wagons through a forest. If you're unsure which scale matches your vision, consulting a comprehensive list of narrow-gauge model railway scales can help you understand the relationship between track gauge and model size.
The "Micro-Layout" Revolution
Space is often the biggest constraint for new modellers. You might assume a layout requires a dedicated garage or attic, but micro-layouts provide a proactive solution by fitting a complete railway into under four square feet. Narrow gauge is the undisputed king of the bookshelf layout because its prototypes naturally use tight radius curves. These compact designs don't limit your creativity. In fact, a smaller footprint allows you to invest more time into high-quality scenery. Because you aren't managing miles of track, you can focus on perfecting individual 3D-printed kits and period accessories to create a dense, believable environment.
Essential Planning: Choosing Your Scale and Theme
Choosing a scale for narrow gauge model railway layouts can feel daunting; however, identifying your available space provides a clear starting point. Your choice determines not just the size of your locomotives, but also the availability of parts and the level of detail you can achieve. While standard gauge layouts often require large rooms, narrow gauge allows you to build a complete world on a single shelf or in a small corner.
A strong theme provides the narrative glue for your project. You might find yourself drawn to the rugged look of a Welsh slate quarry, the industrial grit of a peat bog, or the quaint charm of a rural village line. Narrow gauge prototypes were built for specific purposes, so selecting a theme early helps you curate a cohesive fleet of wagons and scenery. This focused approach prevents your layout from feeling like a random collection of models and instead creates a believable, living scene.
OO9 Scale: The UK’s Narrow Gauge Favourite
OO9 scale (4mm to the foot) is the most popular choice in the UK because it runs on 9mm track, the same gauge used for N scale models. While this scale is small, it offers a proactive solution for those with limited space. You can utilize reliable N gauge chassis from manufacturers like Kato or Tomytec as a base for your locomotive kits. For those new to the hobby, understanding what is a narrow gauge railway is a vital first step in choosing the right prototype to model.
GN15 and O-16.5: Larger Scales for Small Spaces
If you prefer larger models but lack a massive room, GN15 and O-16.5 offer a practical compromise. These scales run on 16.5mm track, which is the standard gauge for OO and HO models. GN15 (G scale on 16.5mm track) focuses on minimum-gauge industrial lines, while O-16.5 (7mm scale) represents 2ft 3in to 2ft 6in gauge lines. These larger proportions allow for highly detailed figures and intricate period accessories. Resources from The Association of 16mm Narrow Gauge Modellers offer excellent inspiration for those moving into larger scales. While these scales vary in size, they all benefit from the unique details found in 3D-printed resin kits. You can explore a variety of OO9 and GN15 locomotive kits to find a prototype that fits your chosen theme.
Track Layout Design for Small and Unusual Spaces
Designing narrow gauge model railway layouts requires a shift from the traditional continuous loop toward more compact, operationally focused plans. You might feel limited by a small footprint, but narrow gauge prototypes allow for much tighter radius curves than standard gauge. While a standard OO gauge locomotive might struggle with a 15 inch radius, an OO9 or GN15 locomotive can often navigate 6 inch to 9 inch curves with ease. This flexibility enables you to wrap a functional railway around corners or onto narrow bookshelves where space is at a premium.
To prevent a small layout from becoming repetitive, you should consider classic shunting puzzles like the "Inglenook Sidings" or the "Timesaver." These designs provide a proactive solution for maintaining operational interest without needing vast amounts of track. By placing your pointwork effectively, you can create a layout that functions as a game, challenging you to move wagons into specific sequences. For a modern approach to managing these movements, utilizing wireless switching and lighting controls from Gem Wireless can help simplify the complex wiring often found under compact baseboards. To make these compact designs work, you must integrate a "fiddle yard" or hidden staging area. This off-stage track acts as the rest of the world, allowing trains to arrive and depart, which creates the illusion of a much larger network.
Narrow gauge prototypes often operate in mountainous or industrial environments where flat land is rare. You can use height to your advantage by building bridges, steep embankments, and retaining walls within a small footprint. This vertical approach adds visual depth and provides a proactive way to hide sharp curves behind rock faces or dense foliage. Scenic breaks, such as a bridge over a stream or a tunnel entrance, help divide the layout into distinct scenes, making a tiny narrow gauge model railway layout feel significantly larger than its physical dimensions.
The Importance of Prototype Inspiration
Looking at real-world examples provides a solid foundation for your design. Lines like the Talyllyn or the Ffestiniog offer endless inspiration for how tracks interact with harsh landscapes. You can find excellent historical context and design ideas through the Narrow Gauge Railway Museum, which showcases the diverse engineering of these small-scale lines. If a specific prototype feels too restrictive, you can adopt freelance modelling. This is a proactive way to avoid rigid prototype constraints by creating your own fictional company, allowing you to mix and match elements from different real-world railways to suit your specific space and creative vision.
Bringing Your Scene to Life with Narrow Gauge Scenery
Effective ground cover is essential for authenticity in these settings. Instead of perfectly manicured lawns, narrow gauge environments require mud, slate waste, and tall grass. Utilizing 3D-printed scenery kits allows you to add unique, period-specific details that mass-produced options often miss. You might include items such as vintage petrol pumps or traditional phone boxes to anchor your scene in a specific era. To complement these details with high-quality emergency or industrial vehicles, you can discover Darlington Diecast Models Limited. These small details provide the visual cues that tell your viewers exactly where and when your railway operates.
If your chosen theme is a quarry or mine, focus on heavy industrial elements like crushing plants and loading docks. These structures create vertical interest and explain the operational purpose of the railway. Conversely, a rural station atmosphere relies on simplicity. You can create a sleepy village feel with modest shelters and platforms partially reclaimed by nature. Using specialized diorama tools helps you apply realistic textures to these surfaces, ensuring your buildings look integrated into the landscape rather than just placed on top of it.
The Role of Figures and Small Details
Figures are the key to giving your layout "life" and scale. While traditional plastic moulds often lack fine detail, 3D-scanned figures offer a level of realism that matches the high quality of resin locomotive kits. For those working in O-16.5, utilizing 1:43 scale figures ensures the proportions remain consistent with your rolling stock and structures. By placing these figures thoughtfully, you can tell a story, such as a driver leaning against a locomotive or a worker waiting at a siding. This level of detail transforms a static model into a dynamic scene. To start building your own detailed world, you can explore our range of diorama tools and scenery kits.
Building the Fleet: Integrating Kits into Your Layout
Kit-building is the fundamental heartbeat of the narrow gauge community. While standard gauge modellers often rely on off-the-shelf products, narrow gauge model railway layouts achieve their unique charm through bespoke rolling stock. You might feel intimidated by the thought of building a locomotive from scratch. We provide a proactive solution by offering high-detail 3D-printed resin bodies designed to fit reliable, pre-existing commercial chassis. This method allows you to focus on the creative aspects of modelling rather than complex mechanical engineering.
The "body kit" concept removes the frustration of motorizing a model. You don't need to struggle with gears and wiring when you can simply slide a characterful resin body over a proven Kato or Tenshodo unit. Modern 3D-printed kits offer a level of fine detail, such as intricate rivet patterns and realistic wood grain, that traditional mass-produced models often lack. Assembly is straightforward. You start by cleaning away any minor support marks with a fine file and ensuring the body sits flush on your chosen donor chassis. This structured approach ensures that even a beginner can produce a professional-looking locomotive.
Choosing Your First Kit
If you're new to the hobby, you might feel overwhelmed by the variety of prototypes available. We recommend starting with a simple wagon kit to practice your assembly and painting techniques before progressing to a locomotive. This allows you to build confidence and understand the material properties of resin without a significant initial investment. Selecting a kit that matches your chosen theme ensures your fleet looks cohesive from the start. For specific advice on selecting your entry point, read our guide on Your First OO9 Loco Kit.
Finishing and Weathering Your Models
A clean, factory-fresh paint job often looks out of place on the weathered, industrial settings typical of narrow gauge model railway layouts. Painting resin requires a proactive approach; priming the surface is the most critical step to ensure the final coat adheres correctly. Once the base colours are applied, adding weathering with powders or thin washes makes the model look "at home" in its environment. These techniques help highlight the 3D-printed details and give the model a sense of weight and history. For a complete masterclass on achieving professional results, visit our resource on Painting 3D Printed Models.
Start Your Narrow Gauge Journey Today
Narrow gauge model railway layouts thrive on character and atmosphere rather than the sheer size of the track plan. You don't need a dedicated room to build a convincing scene; a shelf or a small desk provides more than enough space for a detailed micro-layout. We've explored how identifying your theme and scale early in the process creates a proactive roadmap for success. By focusing on industrial or rural details, you can transform a small footprint into a living, breathing world.
The technical barriers to entry are lower than ever. Utilizing 3D-printed resin kits allows you to create a bespoke fleet without the frustration of complex mechanical construction. These specialist kits are designed by modellers, for modellers, ensuring that every rivet and wood grain detail is present. We offer unique prototypes and provide worldwide shipping for all narrow gauge enthusiasts. Explore our range of unique OO9 and GN15 kits to start your layout and begin building your creative vision. Your first layout is just a kit away. Start your project today.
Frequently Asked Questions
What is the best scale for a narrow gauge layout in a small room?
OO9 is the most practical choice for a small room because it utilizes 9mm track while representing larger prototypes in 4mm scale. You might feel limited by space, but OO9 provides a proactive solution by allowing a comprehensive layout to fit on a bookshelf or desk. If you prefer larger models, GN15 provides a similar benefit by running on 16.5mm track within a compact, industrial footprint suited for micro-layouts.
Can I use N gauge track for an OO9 narrow gauge layout?
You can technically use N gauge track for OO9 layouts because both share a 9mm gauge. However, standard N gauge track features sleeper spacing designed for 2mm scale, which looks incorrect for 4mm scale narrow gauge model railway layouts. A proactive solution is using dedicated OO9 track from manufacturers like Peco. This track features wider sleeper spacing and a rugged appearance that better suits narrow gauge prototypes.
Do I need to be an expert to build 3D-printed model railway kits?
You don't need expert skills to assemble 3D-printed resin kits. These models are designed to be accessible, often featuring fewer parts than traditional brass or white metal alternatives. While you might worry about the complexity of motorizing a model, our kits provide a proactive solution by being designed to fit directly onto reliable, pre-assembled commercial chassis. This focus on "body kits" allows beginners to achieve professional results with basic tools.
What is the difference between OO9 and HOn3 scales?
OO9 and HOn3 differ in both scale and track gauge. OO9 uses a 4mm scale (1:76) and runs on 9mm track, commonly representing 2ft gauge lines found in the UK. HOn3 uses a 3.5mm scale (1:87) and runs on a wider 10.5mm track to represent 3ft gauge American prototypes. Modellers should choose the scale that matches their preferred prototype and the availability of track components to ensure a cohesive build.
Where can I find a chassis for my narrow gauge locomotive kit?
While we don't sell chassis or motors, they are widely available through specialized model railway retailers and online marketplaces. Our kits are specifically designed to fit reliable donor units from manufacturers like Kato and Tenshodo. You should check the availability of specific N gauge or HO power units in 2026 before starting your build. This modular approach ensures your locomotive has a high-quality motor while our 3D-printed body provides unique character.
Is narrow gauge modelling more expensive than standard gauge?
Narrow gauge modelling isn't necessarily more expensive, though costs are distributed differently. The lack of mass-produced models might seem like a financial barrier, but the smaller footprint of narrow gauge model railway layouts offers a proactive solution for managing your budget. You need less track and scenery to create a complete scene. Building from kits rather than buying ready-to-run models allows you to create a unique fleet for a reasonable investment.
How do I clean and prepare 3D-printed resin parts for painting?
Preparing 3D-printed resin parts involves a few simple steps to ensure a perfect finish. You should first wash the parts in warm, soapy water to remove any residual oils from the printing process. Paint adhesion can be a challenge with resin, but a proactive solution is applying a high-quality plastic primer after smoothing any support marks with a fine file. This ensures the topcoat adheres correctly and highlights the fine surface details.
What are the most common themes for narrow gauge layouts?
Narrow gauge layouts frequently focus on industrial or rural themes where standard gauge would be impractical. Common choices include slate quarries, peat bogs, or remote village lines. Standard scenery often lacks character, but narrow gauge prototypes offer a proactive solution through unique industrial themes. Using 3D-printed scenery kits for items like period petrol pumps or industrial machinery helps bring these specific, characterful environments to life on your layout.