

Why settle for a massive, unfinished layout when you can pack more character into a single square foot of industrial narrow gauge scenery? It's common to feel overwhelmed by the technical jargon of O-16.5 versus On30, or to worry that 3D printed components might look out of place next to traditional scenery. While space and budget often limit our modelling ambitions, building a 7mm narrow gauge diorama offers a proactive way to master high-level detailing on a manageable scale. You don't need a spare bedroom to create a museum-quality scene; you just need a focused approach to planning and construction.
We understand that the fear of wasting expensive materials can stall a project before the first piece of track is laid. This guide provides the clarity you need to move forward with confidence. You'll learn how to navigate scale standards, integrate highly detailed 3D printed kits, and apply weathering techniques that bring your industrial prototypes to life. We will walk through the entire process, from the initial baseboard design to the final placement of scanned figures and vintage accessories, ensuring your finished piece looks professional and historically authentic.
Key Takeaways
- Clarify the relationship between 7mm scale and O-16.5 track to ensure you select the correct components for your narrow gauge project.
- Utilise verticality and varied ground levels to create depth and visual interest within a compact, bookshelf-style footprint.
- Master the fundamental steps of building a 7mm narrow gauge diorama, from selecting robust baseboard materials to ensuring reliable electrical trackwork.
- Discover how to integrate 3D printed kits and scanned figures to achieve high levels of detail without the complexity of traditional scratch-building.
- Learn professional weathering techniques to transform resin parts and scenery into realistic, age-worn industrial environments.
What is a 7mm Narrow Gauge Diorama?
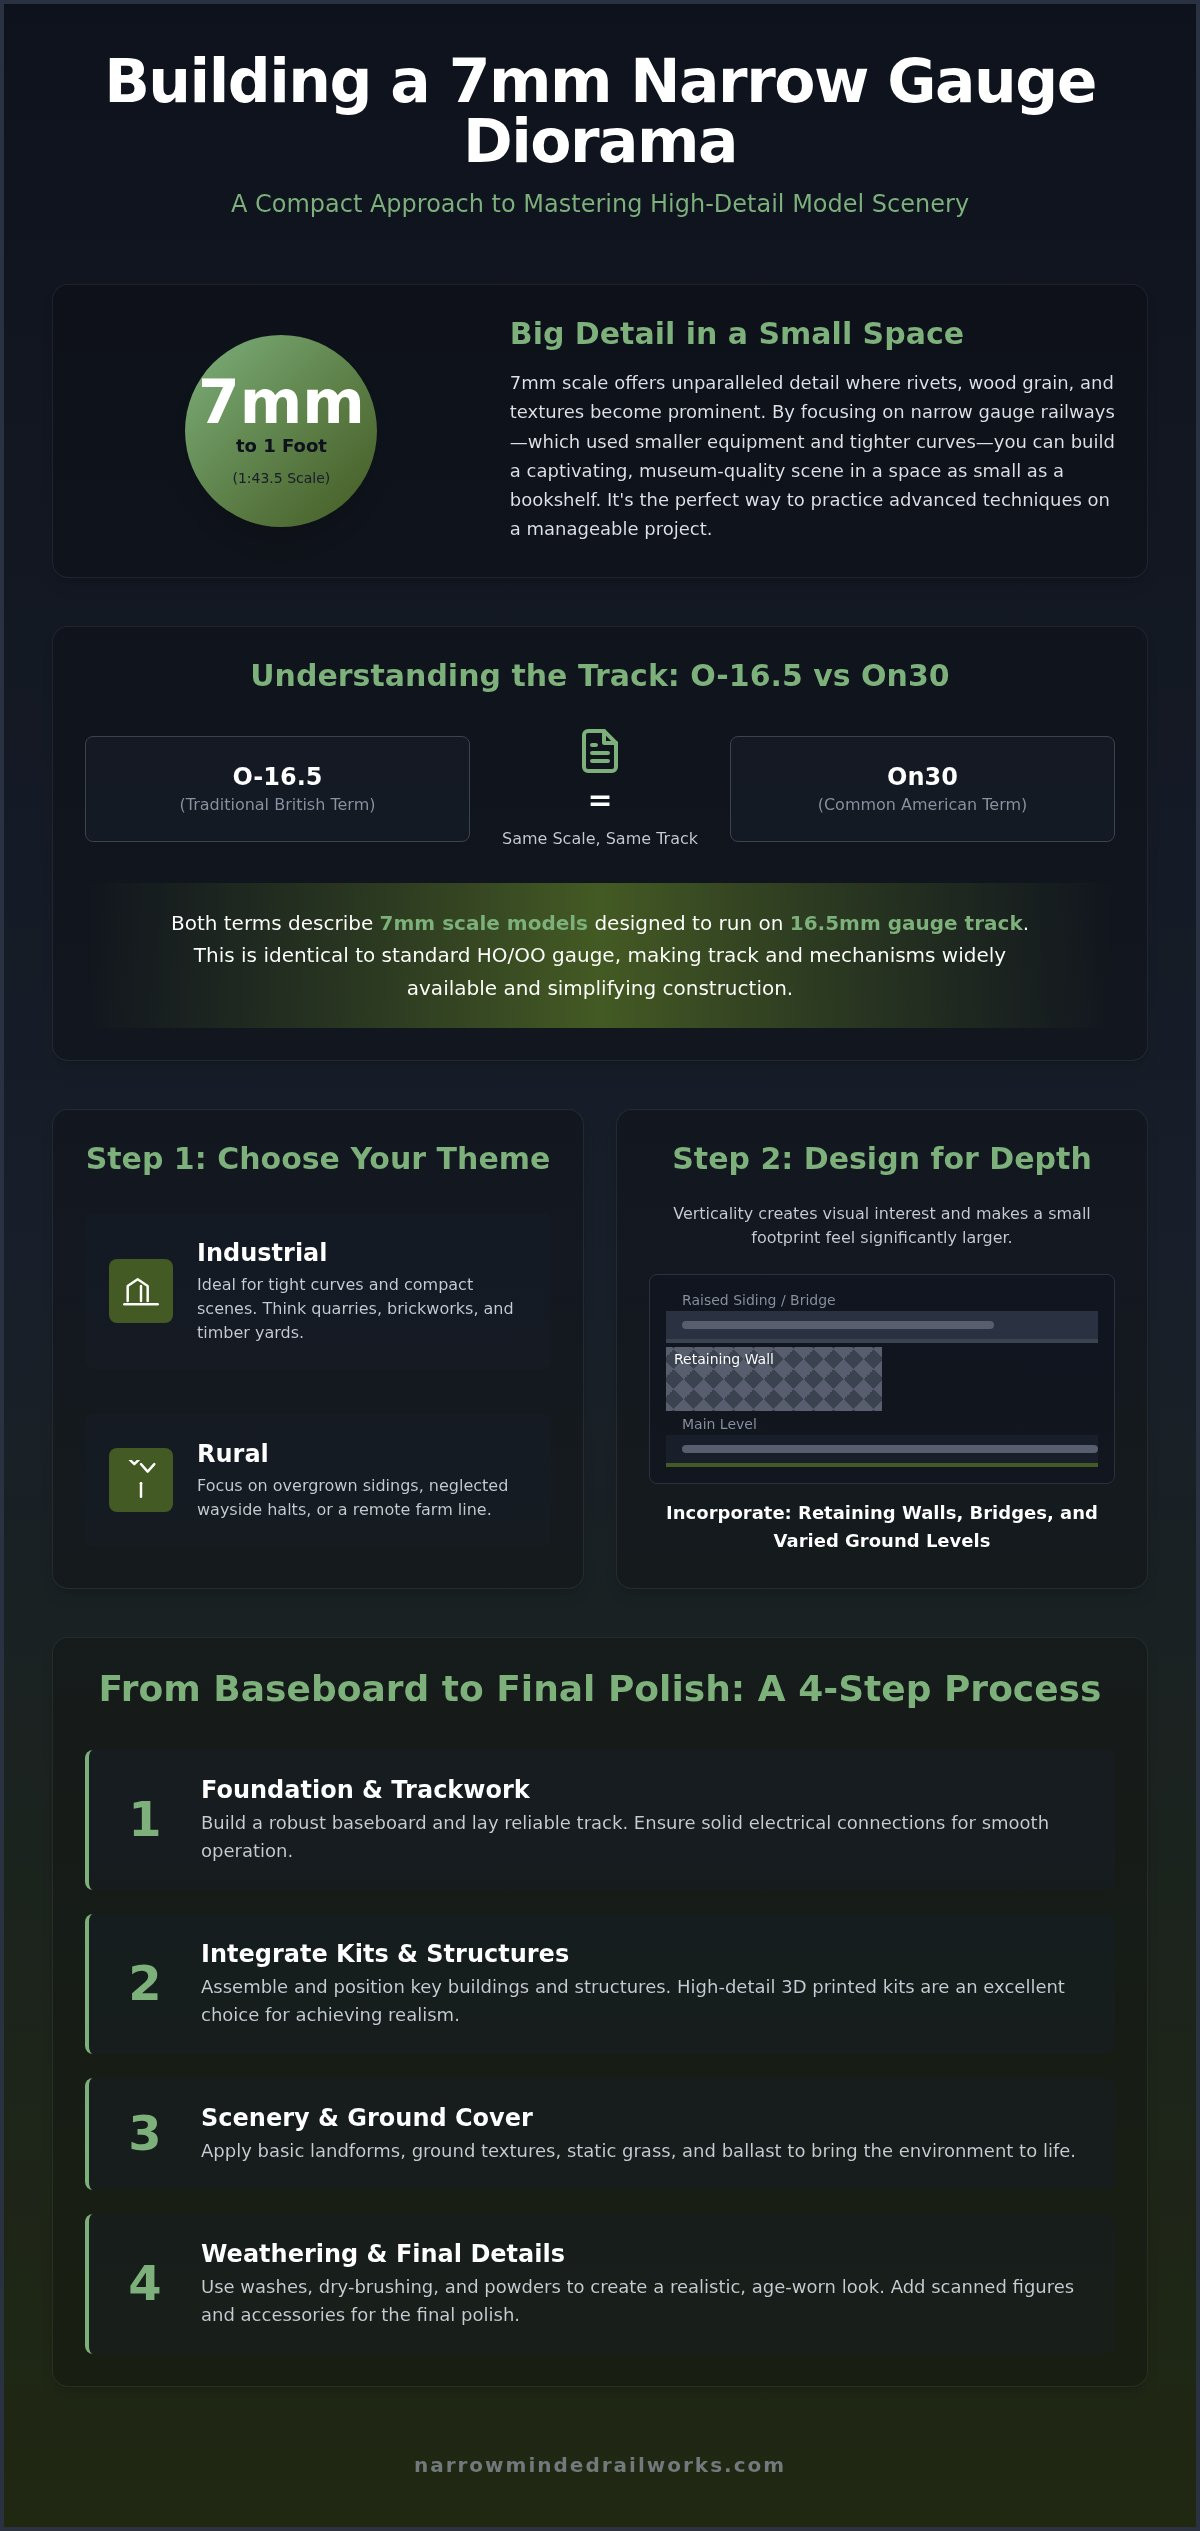
Modelling in 7mm scale involves a ratio of 7mm to one foot, or 1:43.5. While standard O gauge often requires significant floor space to accommodate large mainline locomotives, narrow gauge prototypes offer a more compact alternative. A 7mm narrow gauge diorama captures the rugged charm of railways that served slate quarries, timber yards, or rural villages. These systems used smaller equipment and tighter curves, which means you can fit a convincing industrial scene into a space no larger than a bookshelf. This makes building a 7mm narrow gauge diorama an ideal entry point for those who want the detail of a larger scale without the spatial constraints of a traditional layout.
The appeal of narrow gauge lies in its "quirky" nature. You aren't restricted to the rigid standards of mainline operations. Instead, you can focus on weathered textures, steep gradients, and industrial decay. Whether you are modelling a Welsh slate line or a freelance industrial tramway, the 7mm scale provides enough physical heft to make every detail feel significant. It's a proactive way to practice advanced scenery and weathering techniques on a manageable project.
Understanding O-16.5 and On30 Gauges
Confusion often arises regarding the terms O-16.5 and On30. While the names differ, both designations generally refer to 7mm scale models that run on 16.5mm track. This track width is identical to standard OO or HO gauge, which provides a highly accessible and reliable foundation for your project. O-16.5 is the traditional British term, while On30 is more common in American modelling circles. Both represent prototypes with a track gauge between 2 feet and 2 feet 6 inches. For a deeper look at these standards, you can read An Introduction to On30 Gauge. Using 16.5mm track allows you to utilise a wide variety of existing chassis and track components, simplifying the mechanical side of the hobby.
The Appeal of the 7mm Footprint
The primary benefit of 7mm modelling is the physical size of the components. At this scale, details such as rivet heads, wood grain, and individual bricks become clearly visible. Building a 7mm narrow gauge diorama allows you to focus on these fine textures without needing a massive room. A single siding or a small engine shed can feel like a complete world when populated with realistic scanned figures and detailed rolling stock. While traditional scratch-building in this scale can be daunting, modern 3D printed kits provide a proactive solution. These kits offer high-definition resin parts that capture complex shapes, such as the curves of a vintage locomotive boiler or the intricate details of a petrol pump. This approach prioritises clarity and sets realistic expectations for modellers who want professional results without years of metal-working experience. It's your railway; whether you follow a specific prototype or embrace a freelance design, the 7mm footprint provides the perfect canvas for your creativity.
Planning Your Diorama: Theme and Composition
Successful dioramas start with a clear vision rather than a complex track plan. While a small footprint limits the physical length of your run, it provides a unique opportunity to focus on intense detail and character. When building a 7mm narrow gauge diorama, your primary goal is to frame a specific moment in time. Many modellers find success using the "theatre box" concept, where the scene is enclosed on three sides with integrated lighting. This technique draws the viewer's eye exactly where you want it, hiding the exits to off-stage "fiddle yards" and creating a self-contained world that feels complete despite its size.
Industrial vs. Rural Narrow Gauge Themes
Selecting a theme is the first proactive step in your planning process. Industrial themes, such as brickworks, timber yards, or slate quarries, are particularly suited to the 7mm scale. These environments allow for tight curves and cramped factory corners that justify the use of short-wheelbase locomotives and wagons. Conversely, a rural theme might focus on a neglected wayside halt or an overgrown siding serving a remote farm. If you have already started a collection of rolling stock, ensure your theme matches the equipment. A rugged, weathered quarry locomotive will look out of place at a pristine passenger station, so plan your environment to complement your models. To help populate these scenes, you can explore specialized diorama tools and scenery that add life to industrial or rural settings.
Designing for Vertical Interest
Most beginners focus solely on the horizontal track layout, yet verticality is what truly creates depth in a confined space. By incorporating different levels, you can make a 2-foot diorama feel significantly larger. Consider these elements for your composition:
- Embankments and Cuttings: Raising the track or placing it in a shallow cutting adds immediate visual layers.
- Retaining Walls: Use stone or brick walls to suggest that the railway is carved into a hillside or squeezed between industrial buildings.
- Bridges and Overpasses: A bridge crossing a small stream or a road provides a natural "scenic break" and adds a sense of height.
- Forced Perspective: Placing slightly smaller structures or flatter textures in the background can trick the eye into seeing more distance than actually exists.
A well-planned track layout should prioritise interesting scenery over complex shunting operations. In a 7mm narrow gauge diorama, a single, beautifully weathered turnout can be more engaging than a cluttered yard. Sketch your plan with the "rule of thirds" in mind, placing your main focal point-perhaps an engine shed or a water tower-off-centre to create a more natural, balanced composition. This structured approach sets realistic expectations for the build and ensures that every square inch of the baseboard serves a narrative purpose.
Foundation and Trackwork: Building the Base
Constructing the physical foundation is the stage where your planning meets practical execution. When building a 7mm narrow gauge diorama, the choice of baseboard material involves balancing durability with weight. Traditional plywood offers a robust, warp-resistant surface, but its weight can be a constraint if you intend to move the diorama frequently. A proactive solution is to use high-density extruded polystyrene (XPS) foam. This material is incredibly light and easy to shape with a basic hobby knife, though it requires a wooden frame or "facia" to protect the edges from accidental damage.
Lightweight Baseboard Options
Foam-core boards provide an excellent alternative for smaller, portable projects. They allow you to carve out geographical features, such as small stream beds or drainage ditches, directly into the base. While foam is convenient, securing 7mm scale structures requires a different approach than wood. You cannot rely on standard wood screws; instead, use low-melt glue guns or specialised foam adhesives to ensure your buildings remain stable. For a complete list of what you'll need to get started, check our guide on Essential Diorama Tools. This ensures you have the correct adhesives and cutting implements before you begin construction.
Track Laying for Narrow Gauge Character
Narrow gauge railways are rarely known for their perfectly level, mainline-standard trackwork. To capture the authentic character of an industrial line, you may want to introduce a slight "wonkiness" to the rails. While it's tempting to make the track look derelict, you must prioritise reliable electrical contact. You can achieve a neglected look by introducing subtle vertical undulations or slight misalignments in the sleepers, provided the rail joiners remain secure and the gauge stays consistent.
Most modellers building a 7mm narrow gauge diorama opt for Peco O-16.5 track. It's a reliable, ready-to-use product that correctly represents the wider sleeper spacing seen on narrow gauge prototypes. Wiring for a small diorama is straightforward; a simple pair of "dropper" wires soldered to the rails and connected to your power source is usually sufficient. If your track plan includes a turnout, ensure the frog is powered to prevent short-wheelbase locomotives from stalling at slow speeds.
Once the track is fixed and tested, focus on ballasting. Industrial lines often used whatever material was available, such as ash, cinders, or coarse quarry waste. Avoid using fine, uniform ballast. Instead, mix different grades of grit and real dried soil to create a rugged, unkempt appearance. Finish the rails by painting the sides with a "sleeper grime" or "rusty rail" acrylic paint. This small detail removes the unrealistic shine of the nickel silver and highlights the industrial realism of your scene.
Integrating 7mm Scale Kits and Structures
Integrating high-quality components is the stage where your scene gains its unique identity. Traditional scratch-building in 7mm scale can be a daunting, time-consuming process that requires advanced metalworking skills. While this barrier often discourages new modellers, 3D printed kits provide a proactive solution. These kits offer the precision of CAD design with the ease of resin assembly, allowing you to focus on the creative aspects of building a 7mm narrow gauge diorama.
When placing your structures, consider their role as "view blocks". In a compact diorama, you need to disguise the points where the track disappears into the fiddle yard or the edges of the baseboard. A strategically positioned engine shed, a tall factory wall, or even a dense cluster of trees can naturally hide these exits. This technique ensures the viewer remains immersed in the miniature world without being distracted by the physical limits of the board. It's a simple way to create the illusion of a much larger railway network operating just out of sight.
Working with 3D Printed Resin Kits
High-definition resin is now the standard for detailed narrow gauge modelling. Before you start assembly, you must remove any remaining support marks with fine-grit sandpaper and wash the parts in warm, soapy water to remove any residual resin. Once cleaned, these parts require a dedicated primer to ensure paint adhesion. For a detailed walkthrough on this process, visit our guide on Painting 3D Printed Models. Using 3D printing is a proactive way to model unique industrial prototypes, such as rugged slate wagons or quirky internal combustion locomotives, that aren't usually available in other formats.
Detailing with Scenery Accessories
The difference between a static model and a living scene often lies in the small details. Scanned figures and vintage accessories, such as petrol pumps, milk churns, or telephone boxes, add a sense of scale and history to your diorama. Position your figures to imply a narrative; a group of workmen gathered near a wagon suggests a story of daily industrial toil. Utilizing 7mm narrow gauge kits for these smaller items ensures that every corner of your layout feels intentional and populated. These details are particularly effective in filling empty spaces between tracks and buildings. If you're ready to start your next project, you can browse our full range of O-16.5 / 7mm Scale Kits to find the perfect centrepiece for your scene.
The Final Polish: Weathering and Scenery
The final stage of building a 7mm narrow gauge diorama is where you transform clean, assembled components into a believable industrial environment. Unlike mainline railways, narrow gauge lines often appear neglected, with vegetation encroaching on the track and equipment showing heavy signs of wear. Achieving this "wild" look requires a layered approach to scenery and weathering. While it's tempting to stop once the track is laid and the buildings are placed, the final polish provides the cohesion that makes a small scene feel like a museum-quality display piece.
Weathering 3D printed rolling stock is a proactive way to hide the uniform surface of resin and simulate the textures of rusted iron or weathered timber. For locomotive bodies, apply a thin acrylic "wash" of dark grey or burnt umber. This liquid flows into the fine recesses of the 3D print, highlighting the rivets and panel lines that give 7mm scale models their physical presence. If you find the finish is too dark, simply wipe away the excess with a damp cloth before it sets. This structured method ensures you maintain control over the level of grime, preventing the model from looking messy rather than realistically weathered.
Narrow Gauge Scenery Techniques
To simulate overgrown tracks, you should mix different lengths of static grass rather than using a single colour or height. Start with a base of 2mm "dead" grass, then layer 4mm and 6mm tufts in areas where foot traffic would be minimal, such as between the sleepers or at the base of retaining walls. This variety creates the unkempt appearance typical of a rural industrial site. You can also create realistic mud and puddles by mixing real earth with gloss varnish. Applying this mixture to the "four-foot" (the space between the rails) suggests a damp, industrial environment where heavy machinery has churned the ground. For the final touch, use weathering powders to add a layer of soot to engine shed roofs or rust streaks to the sides of metal wagons.
Adding Life with Figures
A diorama without people often feels like a ghost town. Scanned figures are a proactive solution for adding realism, as they capture natural poses and authentic clothing folds that traditional moulded figures often lack. When painting 7mm scale people, use a "wet palette" to keep your acrylics thin; this prevents the paint from obscuring the fine facial details. Position your figures to create "cameos" or mini-stories that engage the viewer. A lone worker leaning against a vintage petrol pump or a crew discussing a delivery near a siding adds a sense of purpose to the scene.
Finally, consider the presentation of the diorama itself. Painting the edges of your baseboard (the facia) in a neutral, dark colour like matt black or charcoal grey provides a professional gallery appearance. This simple step frames your work and ensures the viewer's attention remains entirely on the detailed world you have created. Building a 7mm narrow gauge diorama is a rewarding process that proves you don't need a large space to achieve professional-grade modelling results.
Bringing Your Narrow Gauge Vision to Life
Building a 7mm narrow gauge diorama represents a proactive shift from dreaming about a layout to actually finishing one. By focusing on a compact footprint, you've learned to prioritise vertical depth and intricate textures over sprawling track plans. Utilizing 3D printed components has allowed you to bypass the constraints of complex scratch-building, ensuring that every locomotive and wagon on your line carries professional-level detail. Whether you chose a rugged slate quarry or a quiet rural halt, the combination of reliable O-16.5 trackwork and realistic weathering has created a scene with genuine character.
Your journey doesn't have to end with a single display piece. Every new project is an opportunity to refine your skills and explore different industrial prototypes. We provide expertly designed 3D printed kits and detailed scenery accessories to help you achieve consistent results, backed by worldwide shipping for modellers everywhere. Explore our range of 7mm and O-16.5 kits to start your diorama today. With the right tools and a focused plan, your next masterpiece is well within reach. Happy modelling.
Frequently Asked Questions
What is the best size for a 7mm narrow gauge diorama?
A compact footprint of approximately 600mm x 300mm (2ft x 1ft) is ideal for building a 7mm narrow gauge diorama. This manageable size allows you to focus on high-density detailing without the project becoming overwhelming. While larger layouts offer more operational potential, a small diorama ensures you can finish the scenery and weathering to a professional standard within a reasonable timeframe. Many modellers find that "bookshelf" dimensions are perfect for creating a self-contained world.
Can I use standard OO gauge track for 7mm narrow gauge?
You can use standard 16.5mm track, but the sleeper spacing on standard OO gauge track looks incorrect for this scale. While the gauge is identical, standard sleepers are too close together to represent narrow gauge prototypes accurately. A proactive solution is to use dedicated O-16.5 track, which features the wider sleeper spacing seen on real industrial lines. This ensures your scene looks authentic rather than like a standard gauge railway in miniature.
How do I paint 3D printed model kits for a realistic finish?
Achieving a realistic finish on 3D printed resin requires thorough preparation. You must wash the parts in warm, soapy water to remove any residual resin before applying a dedicated plastic primer. Once primed, use thin layers of acrylic paint to avoid obscuring fine details. Applying a dark wash into the recesses of the print is a proactive way to highlight rivets and panel lines, creating the industrial grit typical of narrow gauge prototypes.
What tools are essential for building a 7mm diorama?
Building a 7mm narrow gauge diorama requires a few specific tools to achieve professional results. You'll need a sharp hobby knife, fine-grit sandpaper for preparing 3D prints, and cyanoacrylate (superglue) for assembly. For scenery, a static grass applicator and a variety of brushes for weathering are indispensable. While you can start with basic household tools, investing in quality modelling implements ensures more precise construction and a cleaner finish on your final display piece.
Is O-16.5 the same as On30?
O-16.5 and On30 are essentially the same in terms of track gauge, as both use 16.5mm track. The difference is primarily regional and prototype-based. O-16.5 is the British term representing 7mm scale models of 2-foot to 2-foot 6-inch gauge railways. On30 is the American equivalent, representing 1:48 scale models. Both allow you to use readily available 16.5mm chassis, making them an accessible entry point for those transitiong to larger scale narrow gauge modelling.
Do I need a special power supply for a small diorama?
You don't need a specialised power supply for a small diorama. A standard 12V DC analogue controller is perfectly adequate for operating the single locomotives typically found in these scenes. While some modellers use Digital Command Control (DCC), we don't sell these systems and they are often unnecessary for simple diorama operations. A basic controller provides smooth slow-speed running, which is essential for realistic industrial shunting on a compact layout.
Where can I find 7mm scale narrow gauge locomotive kits?
You can find a unique range of 7mm scale narrow gauge locomotive kits and scenery at Narrow Minded Railworks. We specialise in 3D-printed bodies and wagons designed to fit common commercially available chassis. Our collection focuses on industrial and rural prototypes that bring character to any scene. We offer worldwide shipping to ensure enthusiasts everywhere can access detailed kits, scanned figures, and vintage scenery accessories for their next project.
How do I fix 3D printed parts together?
You should use cyanoacrylate (superglue) to fix 3D printed resin parts together. Traditional plastic cement, which works by melting polystyrene, won't bond with resin. For larger structures or ground-level scenery, a low-melt glue gun or specialised foam adhesive is a proactive solution to prevent heat damage to your baseboard. Ensure all parts are clean and dry before applying glue to achieve the strongest possible bond for your models and accessories.