

Staring at a seemingly endless wall of hobby supplies, wondering where on earth to begin? The excitement of a new project can quickly turn to confusion when you're faced with countless cutters, glues, and gadgets. The fear of spending your hard-earned pounds on the wrong kit is real, which is why knowing the essential diorama building tools is the first step to success. This uncertainty can stop a great idea in its tracks before you’ve even made the first cut.
Forget the overwhelming choice and the expert-level equipment you don't need yet. We're giving you a clear, no-nonsense starter checklist that covers everything from basic assembly and shaping to adding those incredible, realistic finishing touches that bring your scenes to life. You'll learn exactly what each tool does and why it deserves a place on your workbench, helping you build your kit with confidence and achieve stunning results from your very first project.
Key Takeaways
- Begin your model-making journey with a small, core set of tools focused on the fundamentals of cutting, cleaning, and gluing for your first project.
- Our guide organises the essential diorama building tools into four key categories, helping you purchase what you need as your skills and projects grow.
- Elevate your creations from simple models to realistic scenes by adding specific tools for fine detailing, painting, and building convincing terrain.
- A safe and organised workspace is just as important as your modelling tools; discover the items that protect you and improve your workflow.
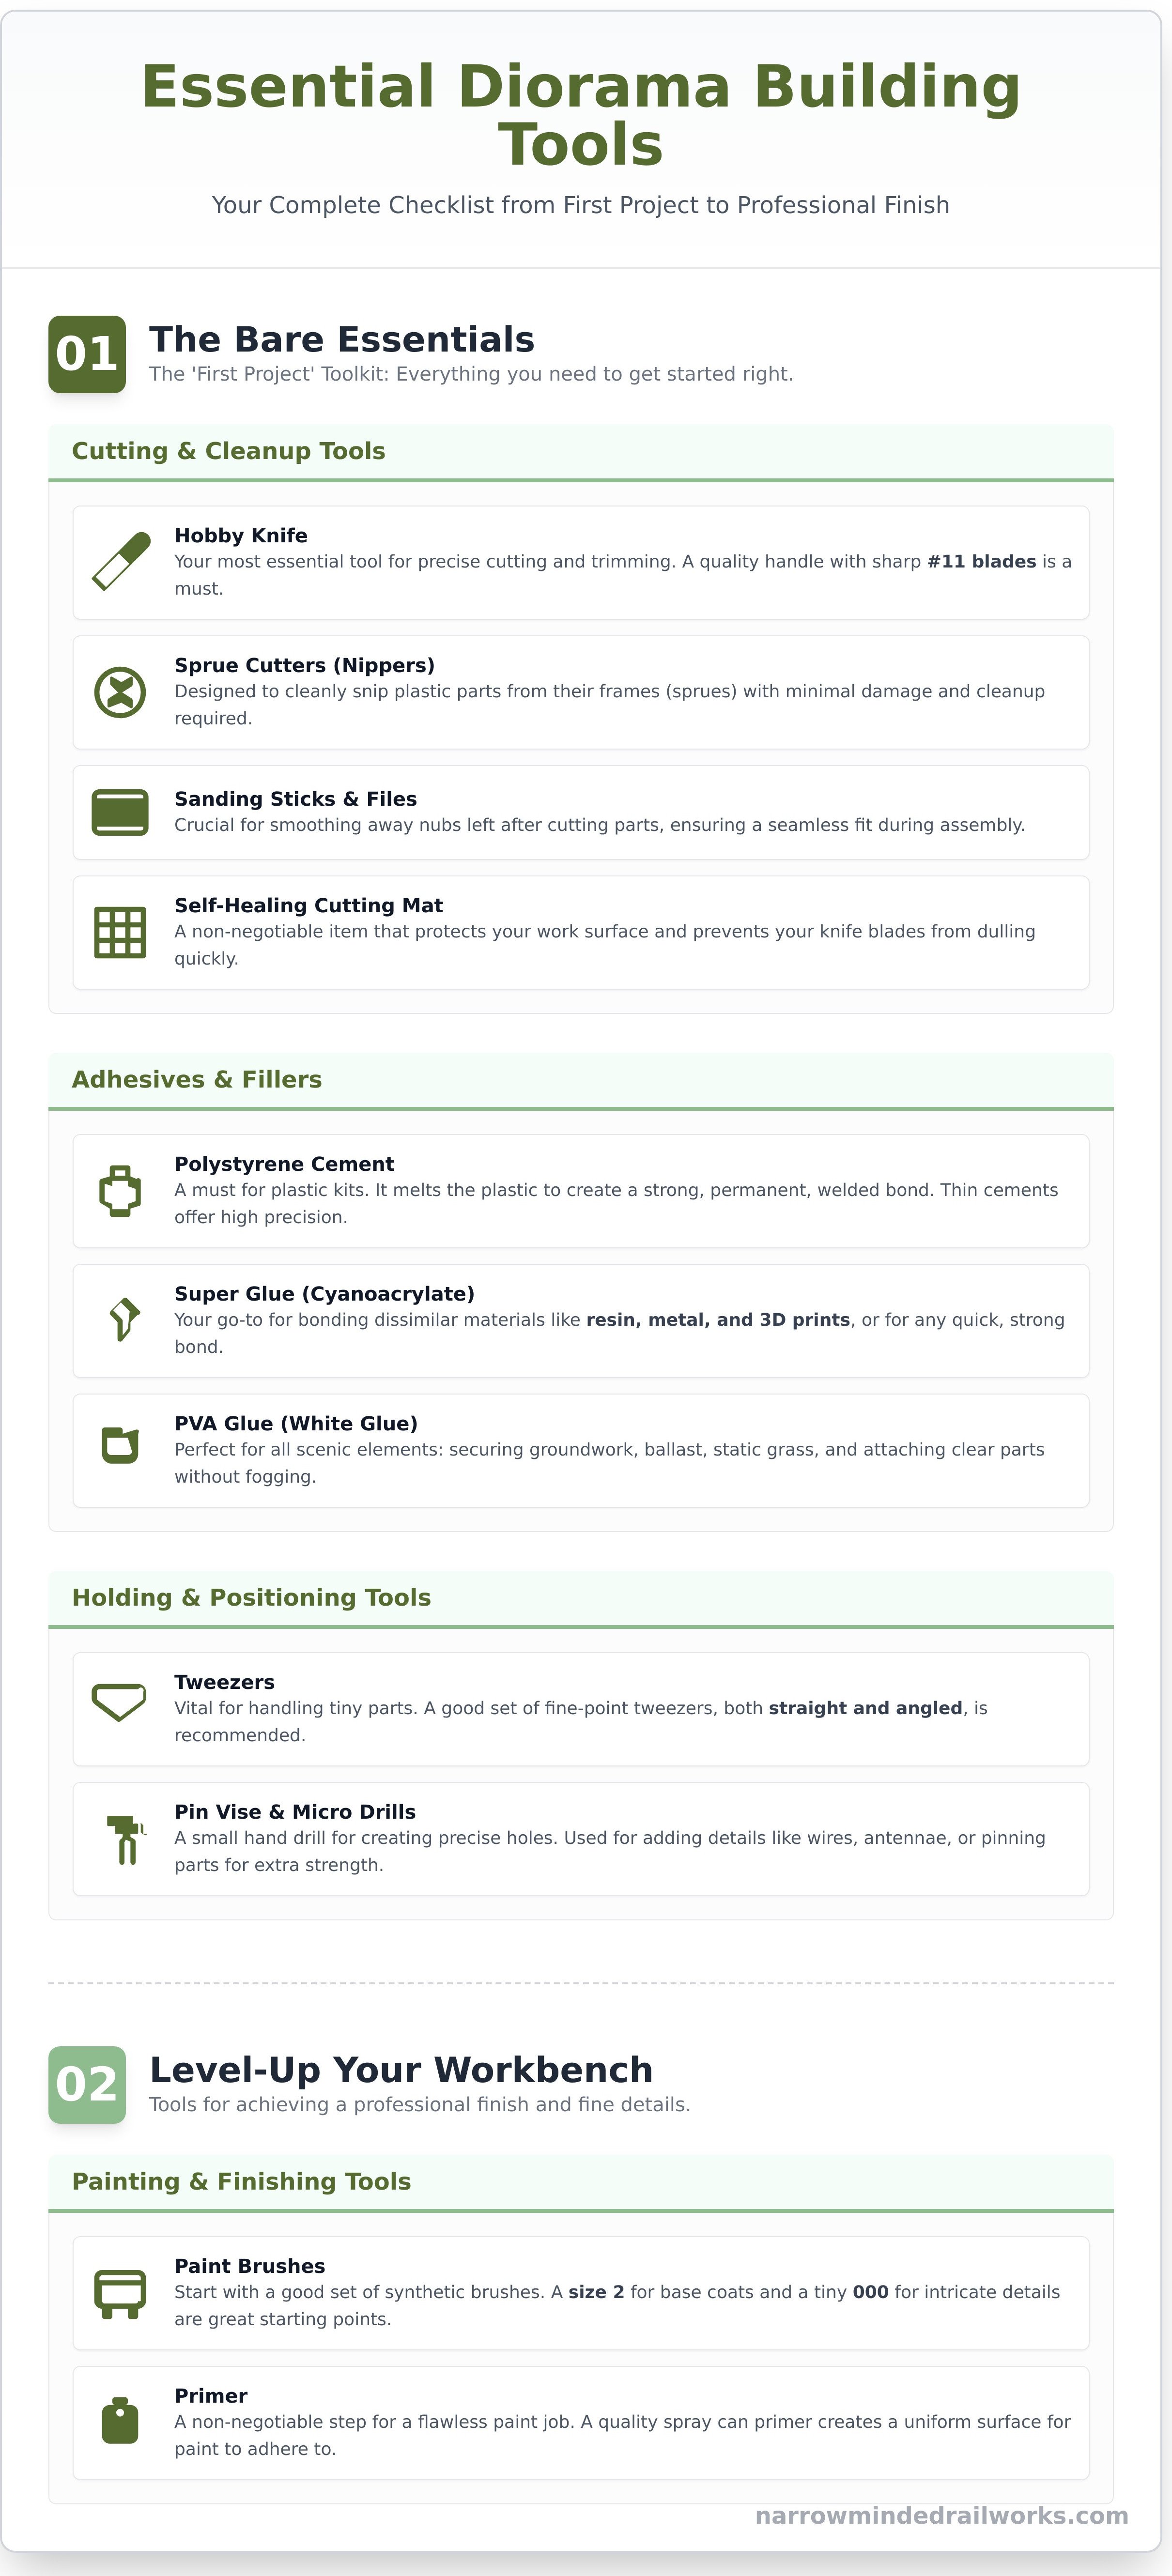
The Bare Essentials: Your 'First Project' Toolkit
Diving into the world of dioramas can feel overwhelming, with countless specialised tools on the market. The good news? You don't need to spend a fortune to get started. This section covers the absolute must-haves, the core set of essential diorama building tools that will see you through your first project and many more to come. By focusing on quality over quantity for these foundational items, you'll equip yourself for success from day one. Before we break down the list, understanding the art form itself is key; this excellent overview explains in detail What is a Diorama? and its rich history.
For a visual guide on getting started, this video provides a fantastic overview of the tools we're about to discuss:
Cutting and Cleanup Tools
Proper preparation is the foundation of a great model. These tools ensure your parts are clean, fit perfectly, and are ready for assembly.
- Hobby Knife: Your number one tool. A quality handle with a pack of sharp #11 blades (like those from X-Acto or Swann-Morton) is indispensable for precise cutting and trimming.
- Sprue Cutters: Also called nippers, these are designed to cleanly snip plastic parts from their frames (sprues) with minimal damage.
- Sanding Sticks & Files: After cutting a part, a small nub will remain. A set of fine-grit sanding sticks or hobby files is crucial for smoothing these imperfections for a seamless fit.
- Self-Healing Cutting Mat: An A4 or A3 size mat is non-negotiable. It protects your desk from cuts and, just as importantly, prevents your sharp blades from dulling quickly.
Adhesives and Fillers
Choosing the right glue for the right material is a critical skill. This selection covers the most common scenarios you'll encounter in diorama building.
- Polystyrene Cement: For plastic model kits, this is a must. It works by melting the plastic slightly to create a strong, welded bond. Brands like Tamiya Extra Thin Cement are a popular choice for their precision applicator.
- Super Glue (Cyanoacrylate): Your go-to for bonding dissimilar materials like resin, photo-etched metal parts, 3D prints, or for a quick, strong bond on non-plastic items.
- PVA Glue (White Glue): Perfect for scenic elements. Use it to secure groundwork, ballast, static grass, and for attaching clear parts like canopies without the risk of 'fogging' them.
- Epoxy Putty: A two-part putty like Milliput is essential for filling unwanted gaps between parts or for sculpting small custom details.
Holding and Positioning Tools
Miniature work requires a steady hand, but these tools provide the extra stability and precision you need for delicate assembly tasks.
- Tweezers: A good set of fine-point tweezers (both straight and angled) is vital for handling tiny parts that fingers can't manage.
- Pin Vise & Micro Drills: This small, hand-operated drill allows you to create precise holes for adding details like wires, antennae, or for pinning parts together for extra strength.
- Clamps and Rubber Bands: Simple but effective. Small hobby clamps and a few rubber bands are perfect for holding parts firmly in place while the glue sets.
- Small Magnets: A versatile addition to your toolkit, small rare earth magnets can hold parts together while glue sets, replacing clamps in tight spots. They are also fantastic for making components interchangeable, such as vehicle turrets or figure weapons. For a wide selection of hobby-sized magnets, suprememagnets.com is an excellent resource.
Level-Up Your Workbench: Tools for a Professional Finish
Once you've assembled a few kits and feel comfortable with the basics, it's time to elevate your craft. The tools in this section move beyond simple assembly, focusing on the fine details that separate a good diorama from a great one. Investing in these items will help you achieve cleaner builds, more realistic paint jobs, and a truly professional finish. This collection represents the next logical step in your journey, expanding your set of essential diorama building tools to include items for precision work and advanced effects.
Often, a great finish is inspired by other art forms. Studying the composition and mood in fine art photography, for instance, can elevate your work—you can read more on how acclaimed photographers create compelling scenes.
Achieving a professional finish isn't just about the tools, but also understanding advanced diorama construction techniques that bring your scene to life. These tools will give you the control needed to execute those techniques flawlessly.
For truly unique details, some modelers incorporate custom textiles. Elements like banners, rugs, or intricate fabric patterns can be created with machine embroidery, adding a layer of realism that's difficult to paint. If you're looking to explore this advanced technique, you'll find a vast library of digital designs to experiment with when you visit Embroidery n Sewing.
Painting and Finishing Tools
A flawless paint job is the hallmark of an expert modeler. Start with a good set of synthetic brushes in various sizes, like a size 2 for base coats and a tiny 000 for intricate details. Before you even touch a brush to the model, a quality primer is non-negotiable. A spray can from a brand like Tamiya or Citadel (around £10-£15) ensures your paint adheres properly and provides a uniform base. For paints, water-based acrylics from Vallejo or AK Interactive are perfect for beginners. To make them last, a wet palette is a game-changer, keeping your paints workable for hours.
Advanced Cleanup and Shaping
To achieve razor-sharp detail, you need tools designed for precision. Many advanced kits include photo-etch-tiny, flat metal parts that require a special photo-etch bending tool for crisp, accurate folds. For cutting thicker plastic or resin parts, a micro saw provides a much cleaner and straighter edge than a craft knife. Stubborn mould lines can be erased without damaging detail using a glass fiber pen. Finally, never underestimate the power of high-quality masking tape for creating perfect, sharp lines between colours.
Measuring and Application
Consistency is key to a polished result. While simple, these tools are vital for accuracy and repeatability in your work.
- Small Steel Rule: Far more durable and precise than plastic, a 15cm steel rule is perfect for measuring and guiding straight cuts.
- Paint Stirrers: Shaking paint isn't enough; pigments settle at the bottom. A simple stirrer ensures your paint is properly mixed for consistent colour.
- Pipettes/Droppers: For accurately measuring and mixing paints, thinners, and varnishes, pipettes are indispensable for getting the perfect ratio every time.
Building the World: Essential Scenery and Landscaping Tools
With your primary model assembled, it's time to create the world it inhabits. This stage moves beyond the kit itself and focuses on building the base, terrain, and environment. The following items are some of the most essential diorama building tools for sculpting landscapes and adding realistic vegetation. This is where you transform a simple base into a believable slice of reality, telling a story through the ground your subject stands on.
Creating the Base and Terrain
The foundation of any great scene is its terrain. Whether you're building rolling hills, a rocky cliffside, or a muddy trench, these tools give you the control to shape your vision. They are designed for working with lightweight and versatile materials like insulation foam and plaster, allowing for complex geography without excessive weight.
- XPS Foam (Insulation Foam): A lightweight, dense foam perfect for carving. You can find it at most UK builder's merchants. It's easy to shape and provides a solid core for your landscape.
- Hot Wire Foam Cutter: For making clean, precise cuts through foam sheets without creating a mess. A basic model can be found for around £20-£40 and is a worthwhile investment for any serious builder.
- Sculpting Tools: A set of dental-style picks, spatulas, and carvers is invaluable for shaping plaster, carving details into foam, or modelling with clay.
- Spatulas/Spreaders: Flexible metal or plastic spatulas are perfect for applying and smoothing texture pastes, plaster, or scenic cements over your foam base.
For instance, if you're building a garden or rural diorama, understanding how different fence panels are constructed adds a layer of realism. Looking at real-world examples from a specialist like those providing garden fencing supplies essex can offer great ideas for scratch-building miniature versions.
Applying Ground Cover and Foliage
Once the landforms are in place, the next step is to bring them to life with texture and plant life. These tools are focused on the delicate work of applying fine materials like static grass, flock, and scatter to create a lush, natural appearance. Attention to detail here will elevate your diorama from a model to a miniature world.
- Static Grass Applicator: The key to achieving realistic, upright grass. This device uses an electrostatic charge to make grass fibres stand on end when applied to a glued surface.
- Old Sieve or Shaker: An excellent, low-cost tool for evenly distributing fine ground cover, dirt scatters, or powders across your terrain.
- Spray Bottle: Used for misting a surface with water (often with a drop of washing-up liquid) to break the surface tension before applying diluted PVA glue. This helps the glue soak in evenly.
- Small, Sharp Scissors: Essential for trimming static grass tufts, shaping foliage on model trees, and cutting materials to size with precision.
Mastering these scenery tools is the final step in crafting a truly immersive diorama. For the finishing touches that make a scene unique, from tiny street signs to realistic rubble, you can find unique details for your scene in our diorama accessories section.
Workspace and Safety: The Unsung Heroes of Your Hobby
While cutting mats, craft knives, and paints are the stars of the show, the environment where you build is just as crucial. A well-organised, safe, and brightly lit workspace isn't a luxury; it's a fundamental part of your set of essential diorama building tools. Investing in your setup protects your health, prevents frustrating mistakes, and ultimately makes the creative process far more rewarding and sustainable for years to come.
Essential Safety Gear
Diorama building often involves sharp instruments, fine dust, and chemical fumes. Protecting yourself is non-negotiable, and a small upfront investment in basic safety gear can prevent injuries and long-term health issues common in the hobby.
- Safety Glasses: A simple pair of safety glasses is vital for protecting your eyes from flying debris when cutting plastic, wood, or snapping parts from a sprue.
- Respirator/Dust Mask: This is crucial when sanding materials like resin, which produces toxic dust. An FFP2 or FFP3 rated mask is also a must-have for airbrushing to avoid inhaling paint particulates and fumes.
- Nitrile Gloves: Keep your hands clean from potentially irritating paints, solvents, and strong adhesives like super glue or two-part epoxies.
Lighting and Magnification
You cannot paint or assemble what you cannot see clearly. Poor lighting leads to eye strain, inaccurate colour mixing, and sloppy construction. A bright, adjustable LED desk lamp with a 'daylight' bulb (around 6000-6500K) provides excellent, colour-neutral illumination. For intricate tasks, an Optivisor or a desk-mounted magnifying lamp is a game-changer, allowing you to work on the finest details with precision and comfort.
Organization and Storage
A tidy workspace is an efficient one. Constantly searching for a specific tool or paint colour can break your creative flow and lead to frustration. Simple storage solutions keep your focus on the project, not on the clutter.
- Paint Racks: Keep your paint pots organised, visible, and upright to prevent spills. Modular systems are available to grow with your collection.
- Tool Stand/Holder: A dedicated stand for your craft knives, files, and brushes keeps them safe, sharp, and always within reach.
- Small Parts Organisers: Use clear, multi-compartment boxes to securely store tiny components, flock, static grass, and other scenic details.
By treating your workspace and safety with the same importance as your other tools, you ensure the hobby remains a joy. These items are not just accessories; they are the foundation of high-quality work and a safe, creative environment. For more inspiration and modelling supplies, explore the curated collection at Narrow Minded Railworks.
From Workbench to Masterpiece: Your Diorama Journey Begins
Building a captivating diorama doesn't require a workshop full of expensive gear from day one. As we've covered, you can create stunning scenes by starting with a core set of basic supplies and gradually adding specialized equipment for that professional finish. Mastering your workspace and safety is just as crucial, ensuring your hobby is both enjoyable and sustainable for years to come.
Now that you have your checklist of essential diorama building tools, the most exciting part begins: adding the unique details that tell a story. The right scenery and accessories are what transform a simple model into a living, breathing world. At Narrow Minded Rail Works, we understand that passion. That’s why we offer unique, 3D printed scenery items you simply won't find elsewhere. Designed by modelers, for modelers, our accessories are perfect for adding character to OO9, GN15, and other narrow gauge scales.
Explore our range of scenery and diorama accessories to bring your project to life.
So, clear your workbench, gather your tools, and start creating. Your next miniature masterpiece is waiting.
Frequently Asked Questions
Do I need to buy expensive tools to get started with dioramas?
Absolutely not. While professional-grade tools are a joy to use, you can achieve fantastic results on a modest budget. A solid starter set including a quality craft knife, a self-healing cutting mat, a steel ruler, and basic glues can be assembled for under £40 from most UK hobby shops. Focus on acquiring a few quality basics first; you can always upgrade or add more specialised tools as your skills and passion for the hobby grow.
What is the single most important tool for a beginner modeler?
The single most indispensable tool is a high-quality craft knife with replaceable blades, such as one from a trusted brand like Swann-Morton. It’s the cornerstone of your toolkit, used for everything from cutting building materials like foam board to trimming model parts and sculpting fine details. Always use it with a self-healing cutting mat for safety and to protect your work surface. A sharp blade is a safe blade, so change them often.
Are there all-in-one toolkits I can buy, and are they any good?
All-in-one toolkits from brands like Tamiya or Army Painter can be a great starting point. The main benefit is convenience and often a lower initial cost compared to buying items separately. However, the quality can be variable, and you may end up with tools you rarely use. They are a decent option for absolute beginners, but carefully selecting your own essential diorama building tools often yields a higher-quality, more personalised kit in the long run.
What specific tools are best for working with 3D printed resin kits?
Working with 3D printed resin requires a few specific items. A good pair of flush cutters or sprue nippers is vital for cleanly removing supports without damaging the model. You will also need fine-grit sanding sticks or files to smooth support marks and layer lines. For safety, always wear a dust mask when sanding resin, as the fine particles can be harmful if inhaled. A pin vise for drilling small holes can also be extremely useful.
How should I clean and maintain my hobby tools like brushes and knives?
Proper maintenance extends the life of your tools. For brushes, clean them immediately after painting using the appropriate solvent-water for acrylics, white spirit for enamels-and reshape the bristles with a brush soap. For your craft knives, the key is to replace blades as soon as they feel dull, as a dull blade is dangerous and gives messy cuts. Always keep metal tools like files and pliers clean and dry to prevent them from rusting.
Is an airbrush considered an essential tool for a beginner?
An airbrush is not considered an essential tool for a beginner. While it's fantastic for achieving smooth base coats and subtle weathering effects, it represents a significant investment (often over £100 for a starter kit) and has a steep learning curve. It is better to first master the fundamentals of brush painting. You can create incredible, professional-looking dioramas with just brushes, and decide if you want to invest in an airbrush later on in your hobby journey.