

A single industrial chimney can define the era and purpose of your narrow gauge layout more effectively than any locomotive on the track. You likely recognize that adding height is the secret to a professional looking scene, but finding the right industrial chimney model kit often feels like a compromise between scale and quality. Many hobbyists struggle to hide prominent seams on round structures or fear that a heavy hand with weathering powders will result in a muddy mess rather than authentic soot. These challenges can make a vital piece of scenery feel like a daunting project rather than a creative highlight.
We are here to help you move past those frustrations and master the art of selecting, building, and detailing chimneys that look like they have stood for decades. This guide provides a proactive approach to vertical modeling, ensuring your structures add character to your OO9, GN15, or 7mm scale scenes. We will explore the differences between 3D printed, card, and plastic materials while sharing professional techniques to hide construction marks and apply realistic soot effects that match your specific era.
Key Takeaways
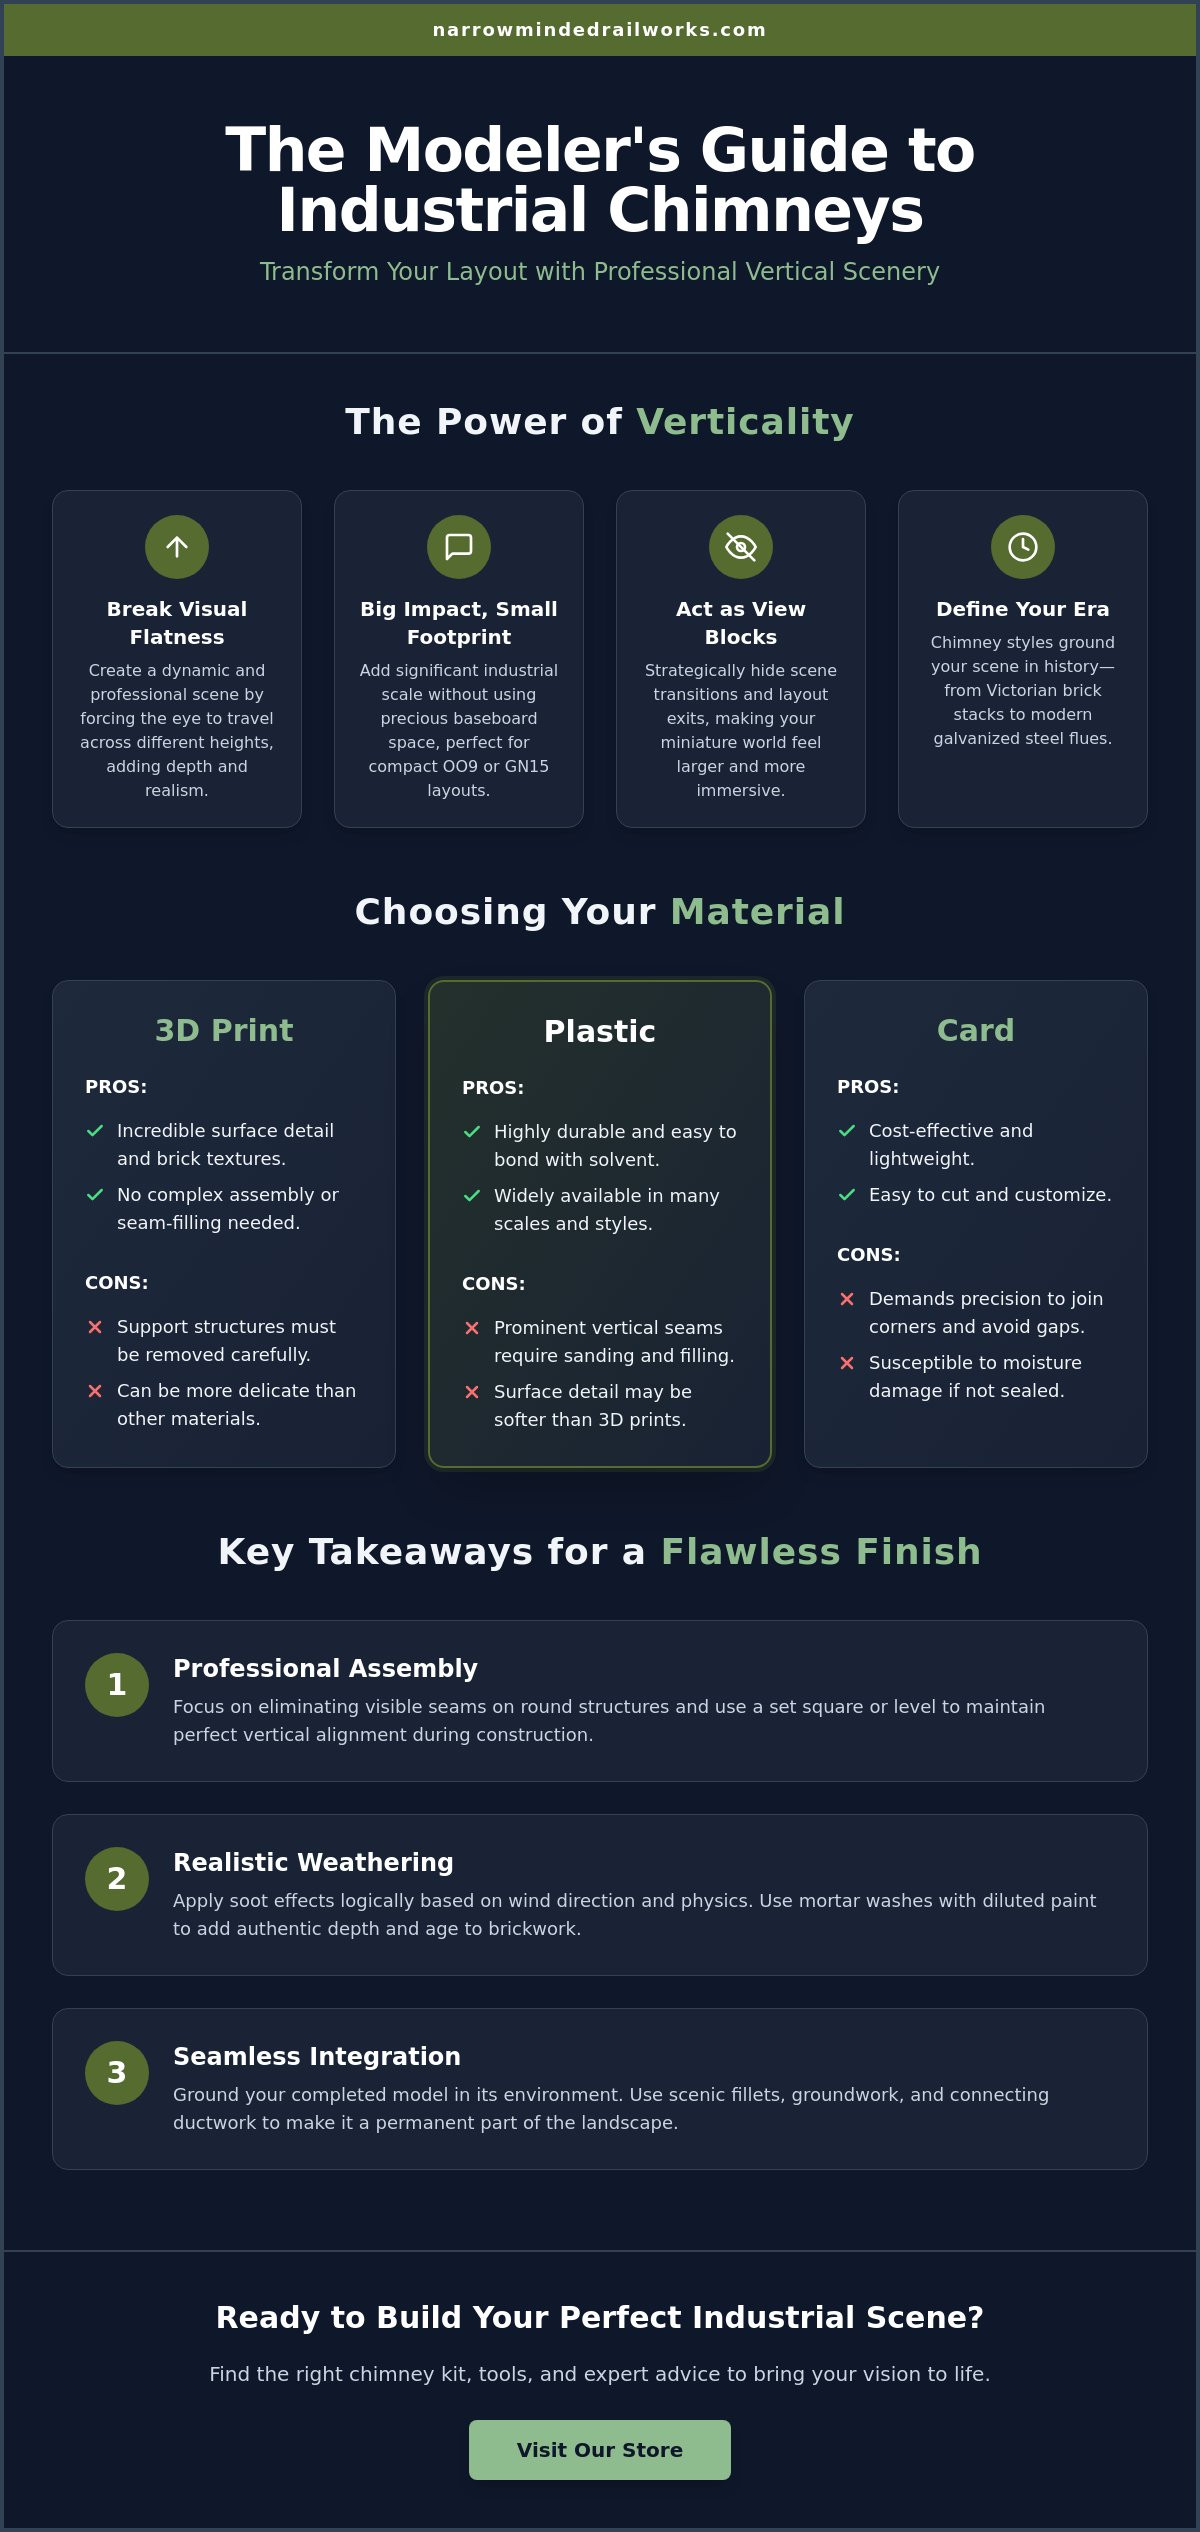
- Understand how vertical elements break up the visual flatness of a layout to create a more dynamic and professional industrial scene.
- Choose the right industrial chimney model kit for your specific scale by comparing the strengths of 3D prints, card, and plastic materials.
- Learn professional assembly methods to eliminate visible seams on round structures and maintain perfect vertical alignment.
- Apply realistic weathering effects by mastering the physics of soot accumulation and using mortar washes to add depth to brickwork.
- Integrate your completed model into the landscape using scenic fillets and ductwork to ensure it looks like a permanent part of the environment.
The Importance of Industrial Chimneys in Model Railway Design
An industrial chimney model kit serves as a structural focal point that defines the purpose of a railway building. Whether it is attached to a mine, a brewery, or a textile mill, the stack is the most visible sign of the power being generated within. Most model railways struggle with a "flat" appearance where tracks and structures sit at a uniform table level. Vertical structures break this monotony by providing a visual anchor that forces the eye to travel across different heights. This movement creates a much more engaging experience for the viewer and adds a sense of scale that locomotives alone cannot provide.
Space constraints often limit the size of industrial buildings on narrow gauge layouts. A tall, slender industrial chimney model kit is a proactive solution because it adds significant presence without requiring a large footprint. This allows you to maintain a sense of industrial scale even when your track plan is compact. It is a vital tool for anyone building OO9 or GN15 scenes where every inch of baseboard is precious and every structure must work hard to tell a story.
To better understand the visual impact and assembly of these structures, watch this helpful video:
Creating Verticality in Small Layouts
Vertical structures are particularly effective in small-scale modeling. They act as "view blocks" that naturally hide layout exits or transitions between different scenes. When you position a chimney strategically, it breaks the line of sight and makes the layout feel larger than it actually is. You should balance the height of the stack with the size of your locomotive kits to ensure the scene looks proportional. A chimney that is too short lacks authority, while one that is too tall might dwarf your narrow gauge rolling stock and wagons.
Era-Specific Chimney Styles
The style of your chimney communicates the history of your layout's industry. A study of the history of industrial chimneys reveals how materials shifted from traditional square brick in the early Victorian era to tapered round stacks as engineering improved. If you're modeling a modern diorama, galvanized steel flues are more appropriate than masonry. Choosing the correct kit ensures your scenery matches the era of your wagons and locomotives, maintaining the immersion of your miniature world. Don't settle for a generic stack when a specific style can ground your entire scene in a specific point in time.
Choosing the Right Industrial Chimney Model Kit
Selecting an industrial chimney model kit requires a balance between the aesthetic of Industrial Revolution architecture and the practicalities of your current modelling skills. While scratch-building offers total customization, commercial kits provide a structural foundation that ensures your chimney remains perfectly plumb. Most modellers find that a kit serves as a reliable starting point that they can later enhance with custom weathering and detailing. Your primary goal is to find a structure that matches the weight and presence of your locomotives without overwhelming the scene.
Material Comparison: Card vs. Plastic vs. 3D Print
The material of your kit dictates the preparation work required. Card kits are cost-effective and lightweight, but they demand precision when joining corners to avoid light leaks or visible gaps. Plastic kits offer high durability and are easy to bond with standard solvent, yet they frequently feature prominent vertical seams that require sanding. 3D printed options provide incredible surface detail, such as individual brick textures, without the need for complex assembly. However, you must carefully remove support structures to avoid damaging the delicate finish. Laser-cut wood kits are another option, though they often require significant grain-filling to achieve the smooth appearance of aged brick or concrete.
Scaling for Narrow Gauge
Narrow gauge modelling often involves creative scaling to achieve a realistic look. It's common for OO9 modellers to use an OO scale industrial chimney model kit to represent a large, imposing factory stack. Because industrial boilers were often massive, using a standard gauge building on a narrow gauge layout creates a sense of believable industrial power. If you're working in GN15, you might select larger scenery kits to emphasize the heavy nature of the industry served by your railway. You can also utilize forced perspective by placing an N gauge chimney in the distant background of an OO9 scene. This technique tricks the eye into seeing more depth than your baseboard actually allows.
Your choice should ultimately reflect your comfort level with different adhesives and finishing techniques. If you're just beginning your journey into industrial modelling, starting with high-quality diorama tools and scenery will make the assembly of any material much simpler. Plastic is generally the most forgiving for beginners, while 3D prints and card kits reward the more experienced modeller with unique shapes and textures.
Step-by-Step Assembly for a Professional Finish
A leaning chimney immediately breaks the immersion of a miniature scene. Achieving a professional finish with an industrial chimney model kit starts with a perfectly level base and a commitment to structural alignment. While many modellers rush the bonding process, taking time to ensure the stack is perpendicular to the ground is the most critical step in the build. If your baseboard is uneven, you must shim the bottom of the structure before permanent fixing. This proactive approach prevents the frustrating "Leaning Tower of Pisa" effect that can plague industrial dioramas.
Structural integrity is another constraint, especially with taller models. Card kits or thin plastic structures often lack inherent rigidity, but adding internal balsa wood or plasticard bracing provides the structural strength needed for a long-lasting model. This prevents the material from warping over time due to humidity or temperature changes. By mastering these foundational model railroad scenery techniques, you can ensure your structures appear integrated and sturdy rather than fragile.
Pre-Assembly Preparation
Clean parts lead to better adhesion. You should wash 3D printed or plastic components in warm, soapy water to remove any lingering release agents or oils from your hands. If you're working with a 3D printed industrial chimney model kit, you'll likely find small support marks along the surface. Carefully sand these flat using a fine-grit sanding stick. Always dry-fit every component before applying adhesive. This allows you to identify any misalignments or gaps that need trimming while the parts are still moveable.
Glue and Seamless Joining
The choice of adhesive depends entirely on your kit material. Use a quality PVA for card kits to allow for slight adjustments, while plastic kits require a liquid solvent to create a strong, fused bond. Cylindrical stacks often suffer from visible vertical seams where the two halves meet. You can eliminate these by applying "sprue goo" (a mixture of plastic scraps and liquid cement) or a fine surface filler into the join. Once dry, sand the area until the seam disappears. This creates a continuous, smooth surface that looks like a single poured concrete or brick structure. Finally, ensure the top plate is perfectly level. A crooked cap is highly noticeable against the horizon of your layout and will detract from the overall realism of your work. Adding fine detail parts like brass ladders or lightning conductors at this stage provides the finishing touch that elevates a basic kit into a museum-quality model.
Weathering and Detailing Your Industrial Chimney
Building an industrial chimney model kit is only half the battle. Without proper weathering, a structure often looks like a plastic toy rather than a functional piece of industrial history. You might worry that applying dark paints or powders will ruin your hard work, but a proactive solution is to study the "industrial archaeology" of real-world stacks. This helps you understand how soot, rain, and heat interact with masonry over decades. By applying effects in layers, you can build up a realistic finish that tells the story of the industry your railway serves.
The physics of soot is straightforward: the heaviest accumulation occurs at the very rim where smoke exits the flue. This means the top of your stack should be the darkest point, gradually fading as you move toward the ground. Conversely, the base of the structure often shows signs of rising damp or splashes from passing locomotives and wagons. To achieve this level of realism, you'll need the right equipment. You can find high-quality diorama tools and scenery to help apply these delicate effects without making a mess of your model.
The Mortar Wash Technique
Brick chimneys lack depth if the mortar lines aren't visible. You can solve this by mixing a thin wash of grey or off-white acrylic paint with a drop of dish soap to break the surface tension. Brush this wash over the entire surface of your industrial chimney model kit. After a few minutes, use a damp cloth to wipe away the excess from the brick faces. This leaves the light color in the recesses, instantly highlighting the texture of the kit. For tall vertical surfaces, work in sections to ensure the wash doesn't dry before you can wipe it back.
Soot and Grime Application
To simulate years of coal smoke, apply matt black powders or paints at the very rim of the chimney. Use a dry brush to pull some of this color downward in vertical streaks, mimicking the path of rainwater carrying soot. Older brick structures often show "efflorescence," which appears as white salt stains caused by moisture. You can replicate this with a very light dry-brushing of white paint in random patches. Finally, add a touch of green moss or lichen using fine turf at the damp base of the structure. If your model includes metal reinforcement bands, use weathering powders to add rust streaks where the metal has reacted with the elements. These small details ensure your chimney looks like a heavy, permanent fixture of your narrow gauge layout.
Integrating the Chimney into Your Industrial Scene
Completing the assembly of your industrial chimney model kit is a significant milestone, but the final challenge is making it look like it belongs in the landscape. A common error in model railway design is simply placing a finished structure onto the baseboard, which results in an artificial "placed on top" look. You might find that even the most detailed model looks like a toy if there is a visible gap at the foundation. A proactive solution is to use scenic fillets—small applications of filler, glue, and fine turf—to blend the base of the stack into the surrounding ground. This creates a seamless transition that suggests the chimney has deep, heavy foundations rooted in the earth.
The visual success of your industrial scene depends on how well different elements interact. While the chimney provides vertical interest, it must logically connect to the source of the smoke and heat. If your layout features tight corners or limited space, you might struggle to position the stack directly against a building. You can resolve this by installing realistic ducting that bridges the gap between the chimney and the boiler house. This level of detail ensures your industry feels functional and grounded in real-world engineering principles.
Ducting and Infrastructure
Ducting is the "connective tissue" of an industrial site. You can use plastic rods, copper piping, or even repurposed drinking straws to simulate the large flue-gas pipes that carry exhaust to the stack. This is an excellent opportunity to bridge the gap between traditional kit-building and modern technology. You can combine your industrial chimney model kit with 3D-printed detail parts like valve wheels, pressure gauges, and mounting brackets to create a complex infrastructure. These small additions provide a layer of mechanical realism that stock kits often lack, making the connection between your factory and its chimney appear logical and permanent.
The Human Element
Scale is often difficult to communicate without a reference point. You should place scale figures near the base of the chimney to instantly convey the massive height of the structure to the viewer. Utilizing professional diorama tools and scenery allows you to add environmental storytelling, such as oil spills, puddles of standing water, or discarded industrial clutter around the foundation. These details suggest a lived-in environment where workers are constantly maintaining the equipment. Finally, perform a visual check to ensure the weathering on your chimney matches your locomotives and OO9 wagon kits. If your rolling stock is covered in heavy grime but your chimney is clean, the scene will lose its sense of cohesion. Matching the level of soot and rust across all models creates a unified, convincing atmosphere for your narrow gauge layout.
Elevating Your Industrial Landscape
You now have the technical foundation to move beyond flat baseboards and create a dynamic, vertical industrial scene. Selecting the appropriate industrial chimney model kit is the first step toward adding authentic character and scale to your layout. By mastering seamless assembly and applying the physics of soot accumulation, you can ensure your structures stand as proud witnesses to your railway's history. Integrating these models with scenic fillets and realistic ducting provides the final, proactive solution to achieving a professional and cohesive look.
Your layout deserves structures that are as detailed as your locomotives. We offer specialist 3D-printed designs tailored specifically for narrow gauge scales, ensuring your scenery perfectly matches your OO9 or GN15 rolling stock. Our kits are designed by modellers for modellers, and we provide worldwide shipping to support your hobby wherever you are located. Explore our range of 3D-printed scenery and diorama tools to find high-quality components for your next project. Start building today and watch your industrial horizon come to life with newfound realism and height.
Frequently Asked Questions
What is the best scale chimney for an OO9 layout?
OO9 modellers typically find that an OO scale (4mm) industrial chimney model kit provides the best visual impact. While OO9 is a narrow gauge scale, the industrial buildings serving these railways were often full-sized structures. Using an OO scale stack creates a believable sense of power and scale. You should choose a height that complements your locomotives without completely dominating the scene on your baseboard.
How do I hide the seam line on a plastic industrial chimney kit?
You can effectively hide seam lines by applying a mixture of liquid cement and scrap plastic, often called "sprue goo," or a fine surface filler. Once the filler is completely dry, sand the area with progressively finer grit sanding sticks until the join is invisible. This proactive approach ensures a continuous surface that looks like a single piece of masonry or concrete rather than two joined plastic halves.
Should I paint my chimney before or after assembly?
It's generally best to paint your chimney after assembly to ensure that you can hide all construction seams and glue marks. Painting after the structure is built allows you to apply a consistent mortar wash and weathering powders across the entire model. If your kit includes complex internal details or separate metal bands, you might choose to paint those sub-assemblies before final attachment to maintain crisp lines.
Can I use a 3D printed chimney with traditional plastic kits?
You can certainly integrate 3D printed components with traditional plastic kits by using cyanoacrylate (super glue) instead of standard plastic solvent. 3D printed resins don't react to liquid poly cements, so a mechanical bond is required. This combination allows you to benefit from the high surface detail of 3D prints while utilizing the structural foundations of a traditional industrial chimney model kit for a unique scene.
What glue is best for card-based industrial chimney kits?
A high-quality PVA glue or a specialized card glue provides the best results for card-based structures. These adhesives offer a strong bond while allowing a small amount of "grab time" for you to adjust the alignment of the chimney stack. You should apply the glue sparingly with a fine brush to avoid saturating the card, which can cause warping or unappealing bubbling on the surface of your model.
How tall should a model industrial chimney be for 4mm scale?
Industrial chimneys in 4mm scale typically range from 100mm to over 300mm depending on the industry they serve. A standard small workshop might only require a 150mm stack, while a large textile mill or brewery would look more authentic with a much taller structure. You should check historical photos of your prototype era to ensure the height of your kit matches the industrial capacity of your narrow gauge layout.
Do I need to prime a 3D printed chimney before painting?
You must always prime 3D printed models before applying your final colors to ensure proper paint adhesion. Resin and filament surfaces can be slightly oily or porous, which often causes acrylic paints to bead or flake off. A high-quality automotive or hobby primer also helps to fill and hide tiny layer lines, providing a smoother surface for your final brickwork or concrete finishes to grip.
How do I make a chimney look like it is made of concrete?
To achieve a realistic concrete look, start with a base coat of neutral grey and apply a series of light, mottled washes in slightly different shades. Concrete is rarely a uniform color, so adding subtle variations helps to suggest age and weathering. You can then add vertical streaks of dark grime using weathering powders to simulate rainwater runoff, which is a common characteristic of industrial concrete stacks.